Frequently Asked Questions
Asset Management Features & Workflows
What is the Assets manager in Hygraph and what does it do?
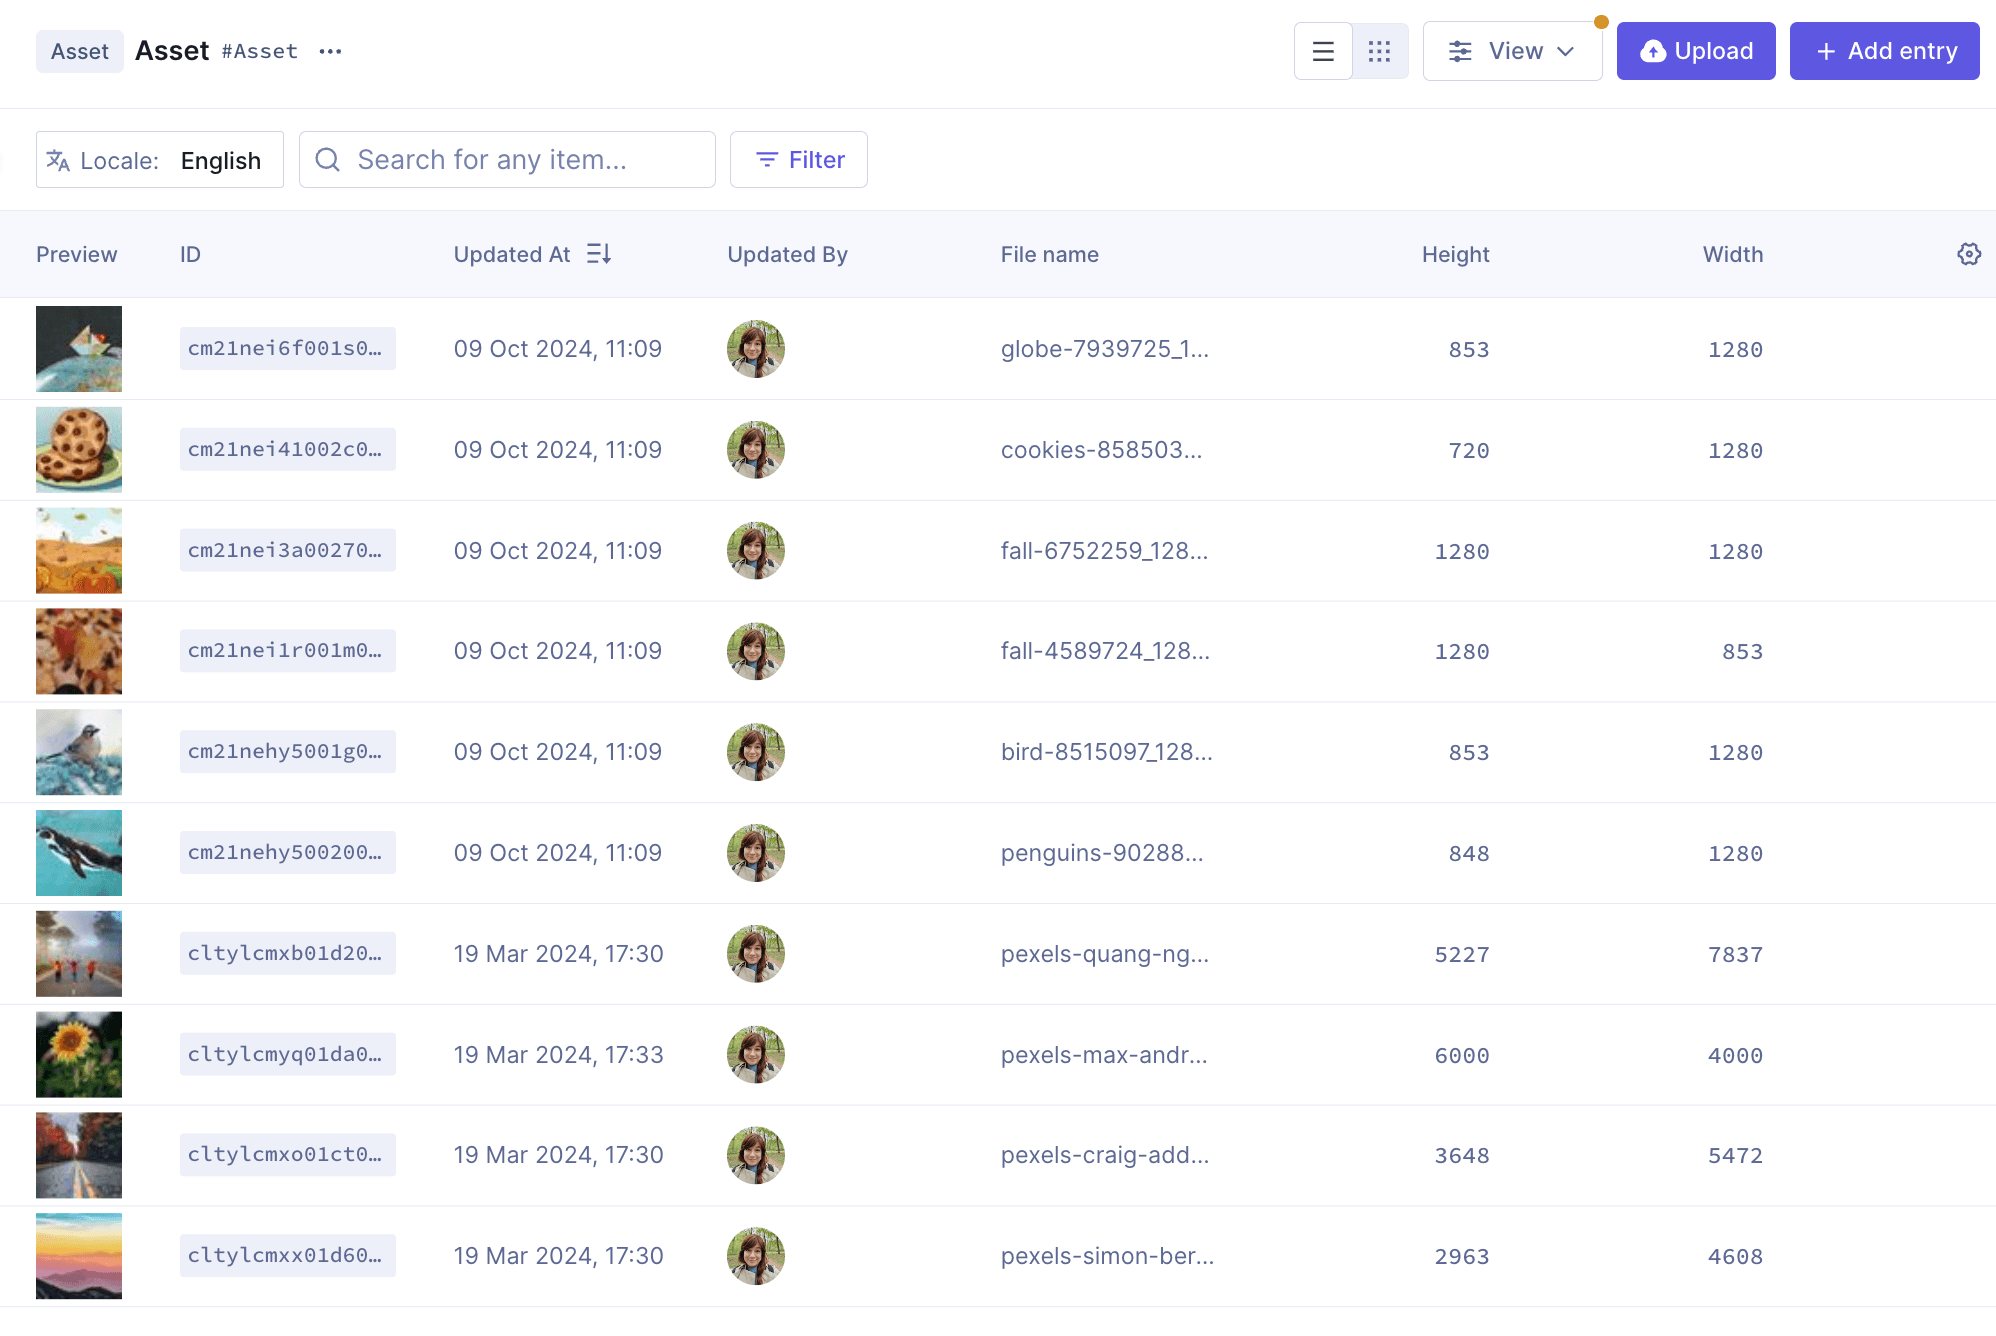
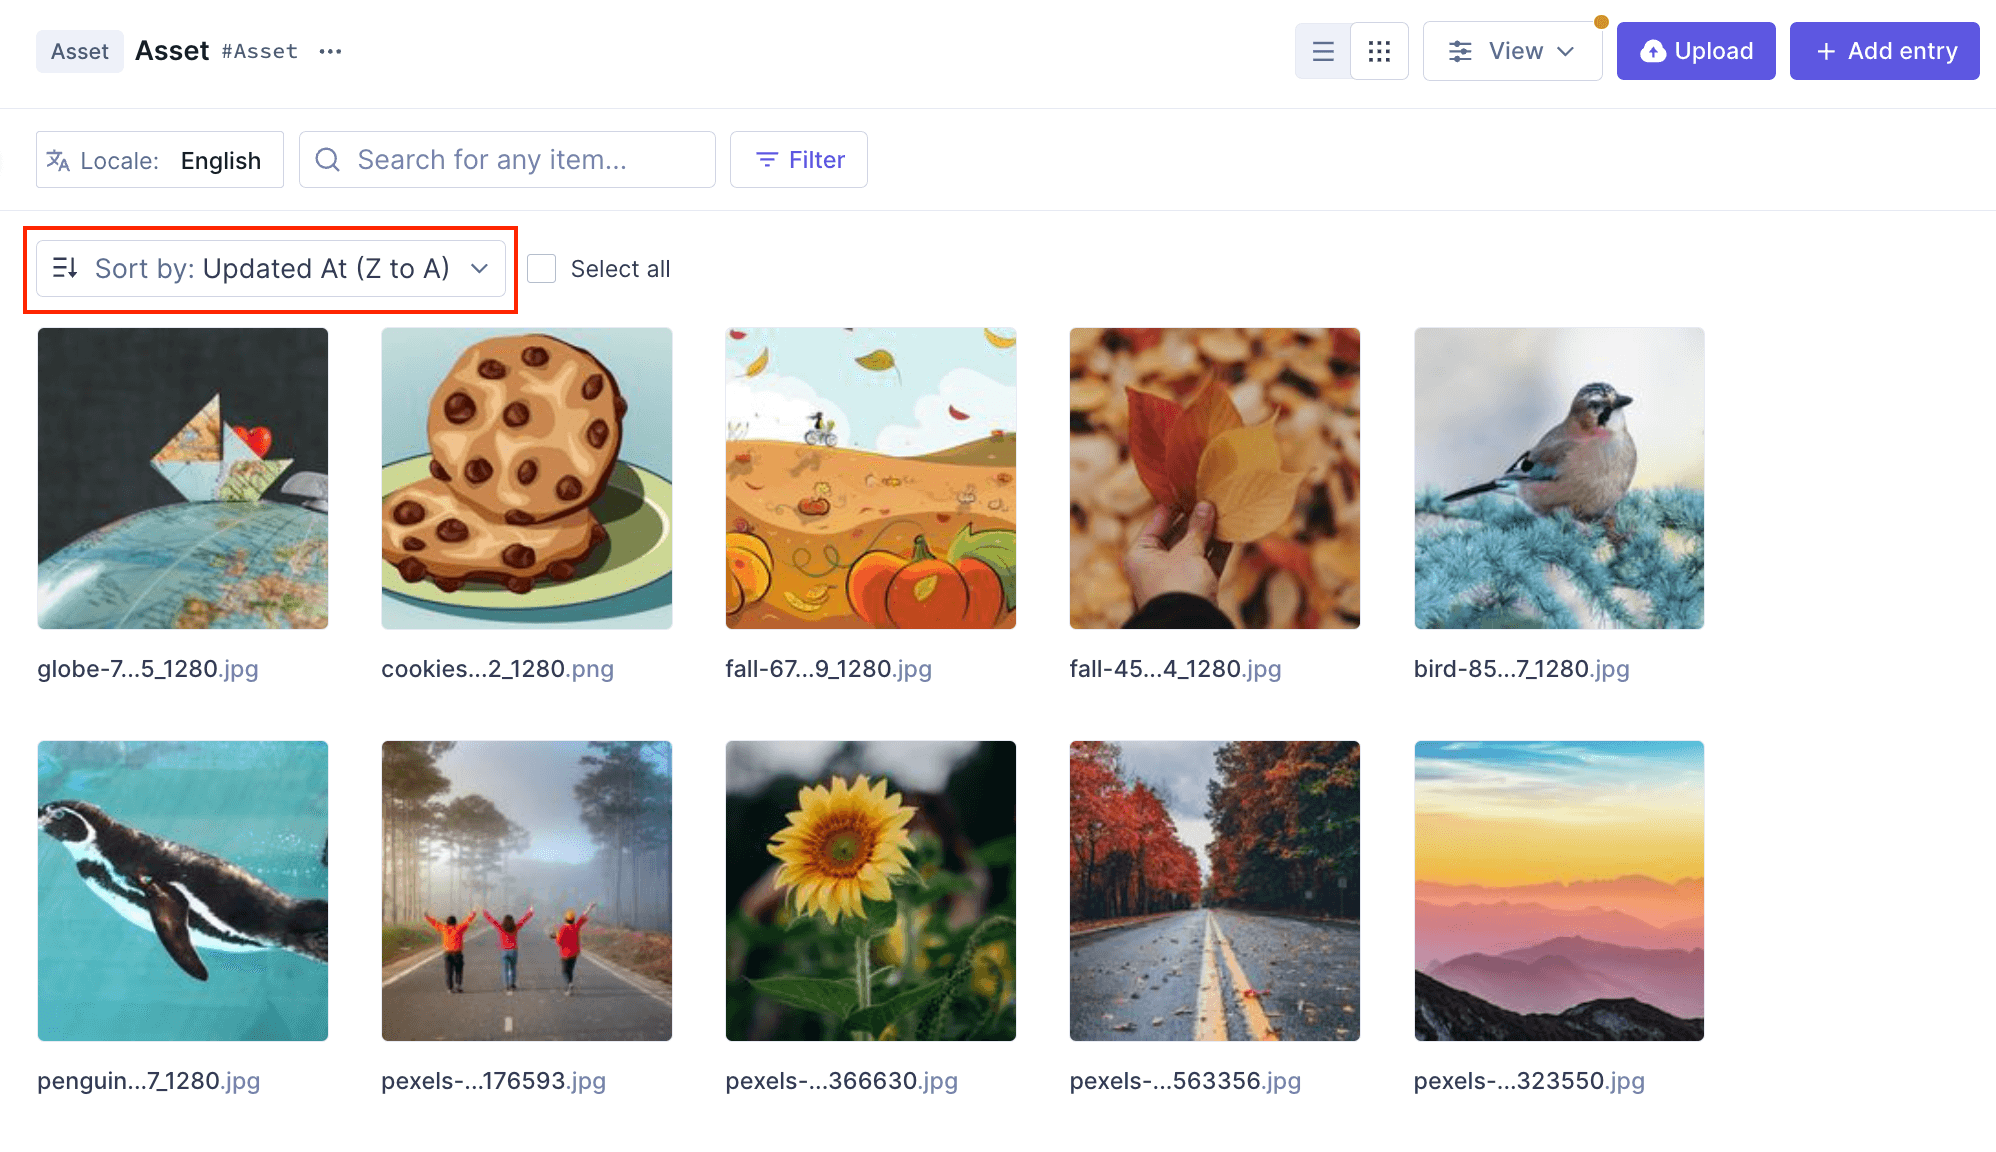
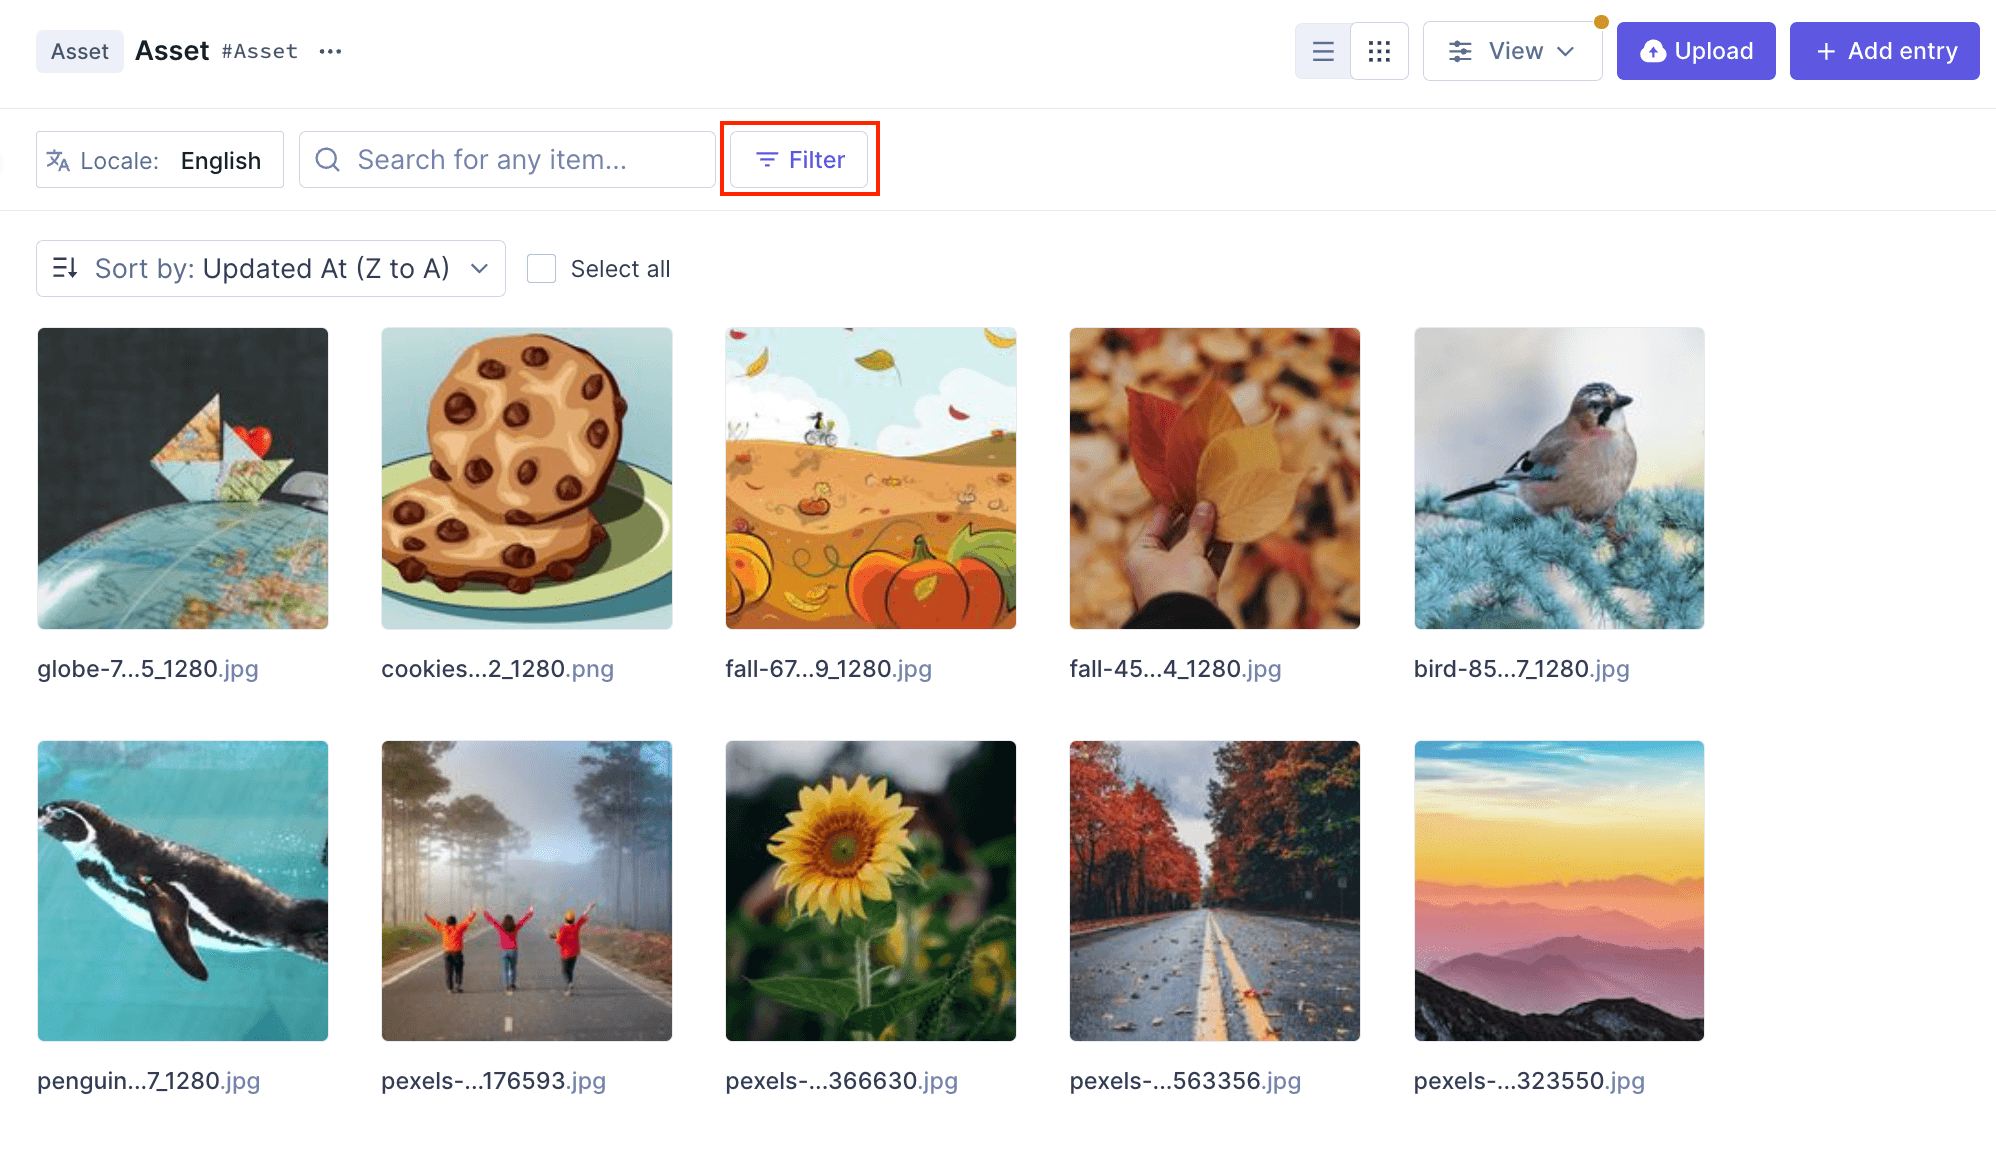
The Assets manager in Hygraph is the dedicated area where you upload, store, and manage digital files such as images, videos, and documents for your projects. It allows you to sort and filter assets, configure columns, save custom views, perform single or bulk actions, schedule asset releases, and upload new assets. For more details, see the official documentation.
How can I view and organize assets in Hygraph?
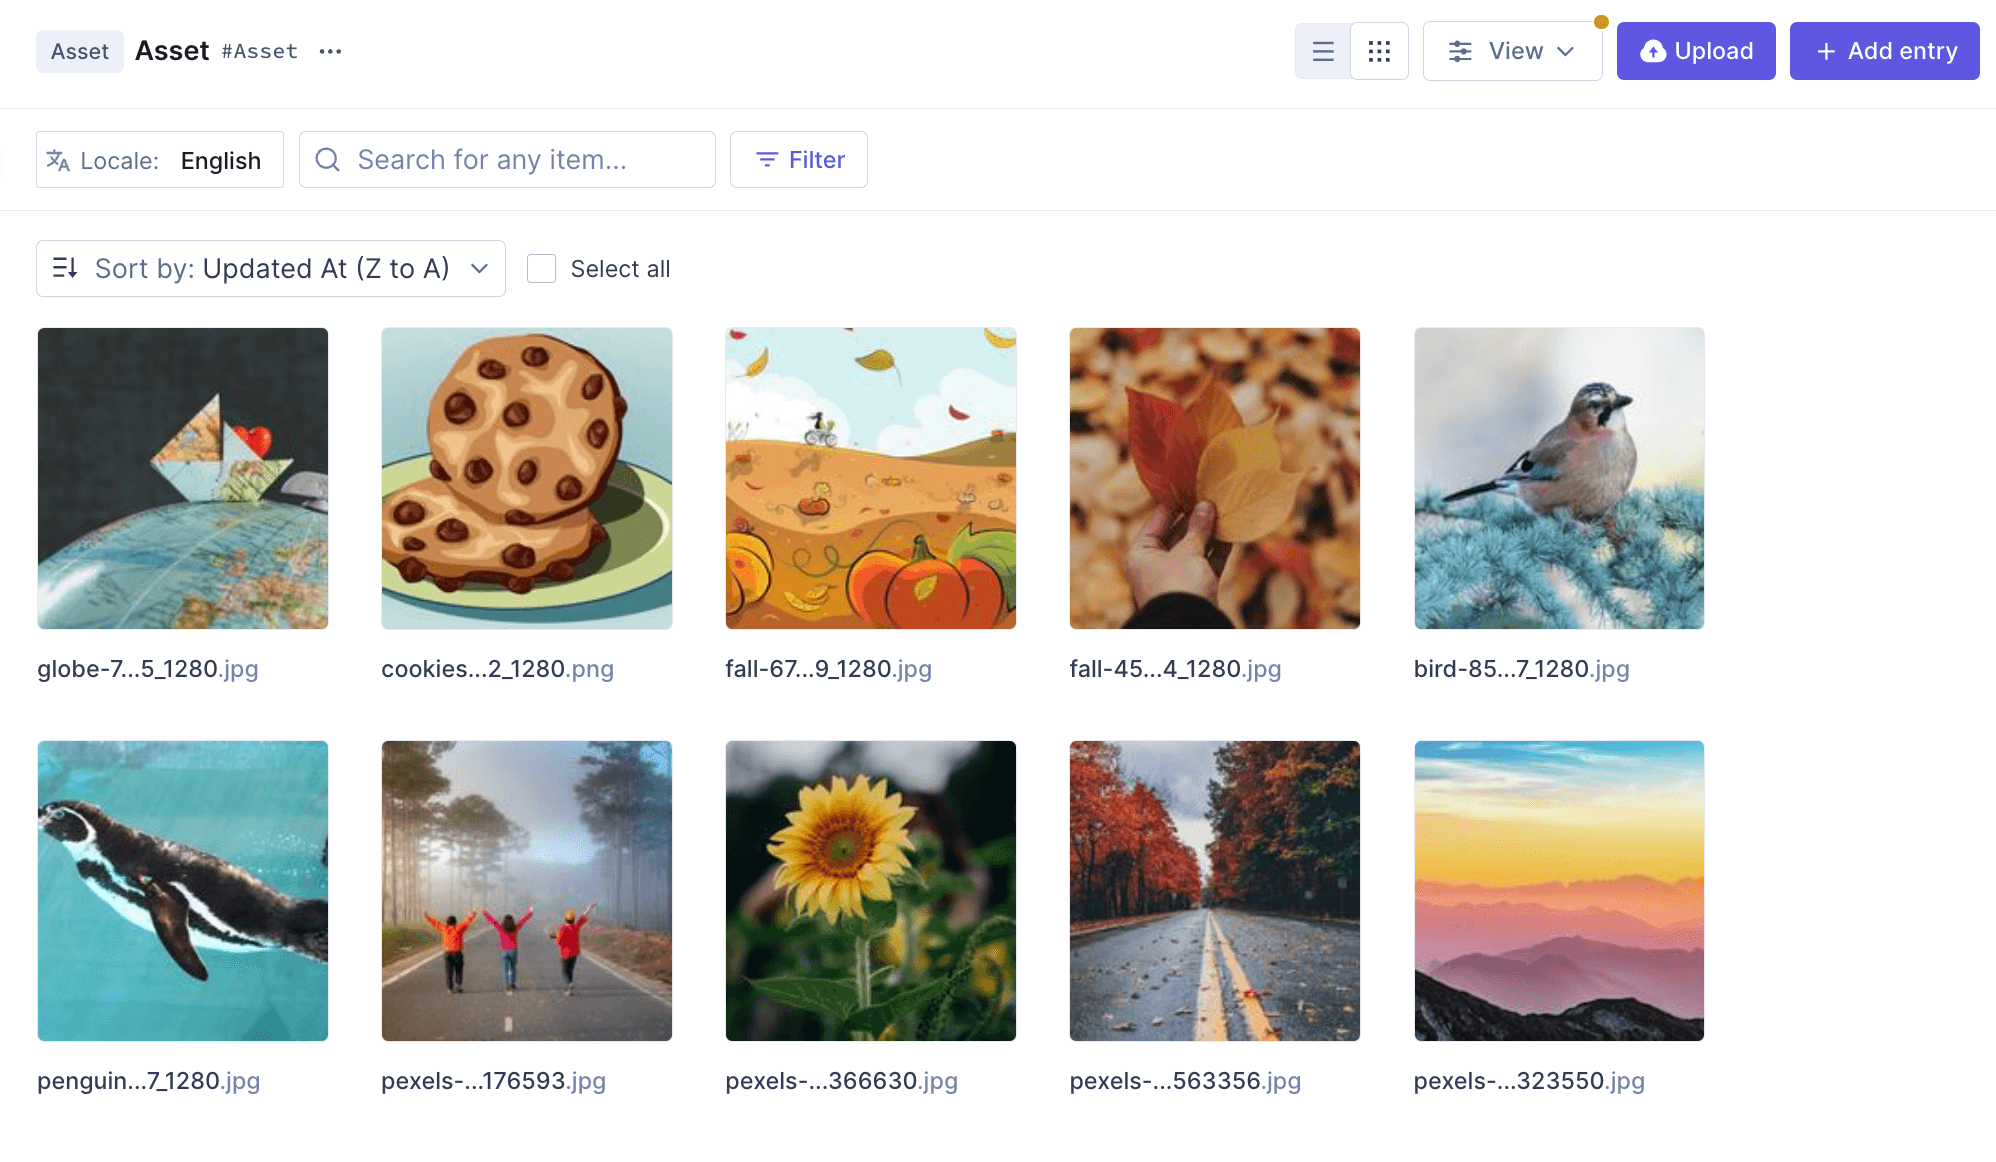
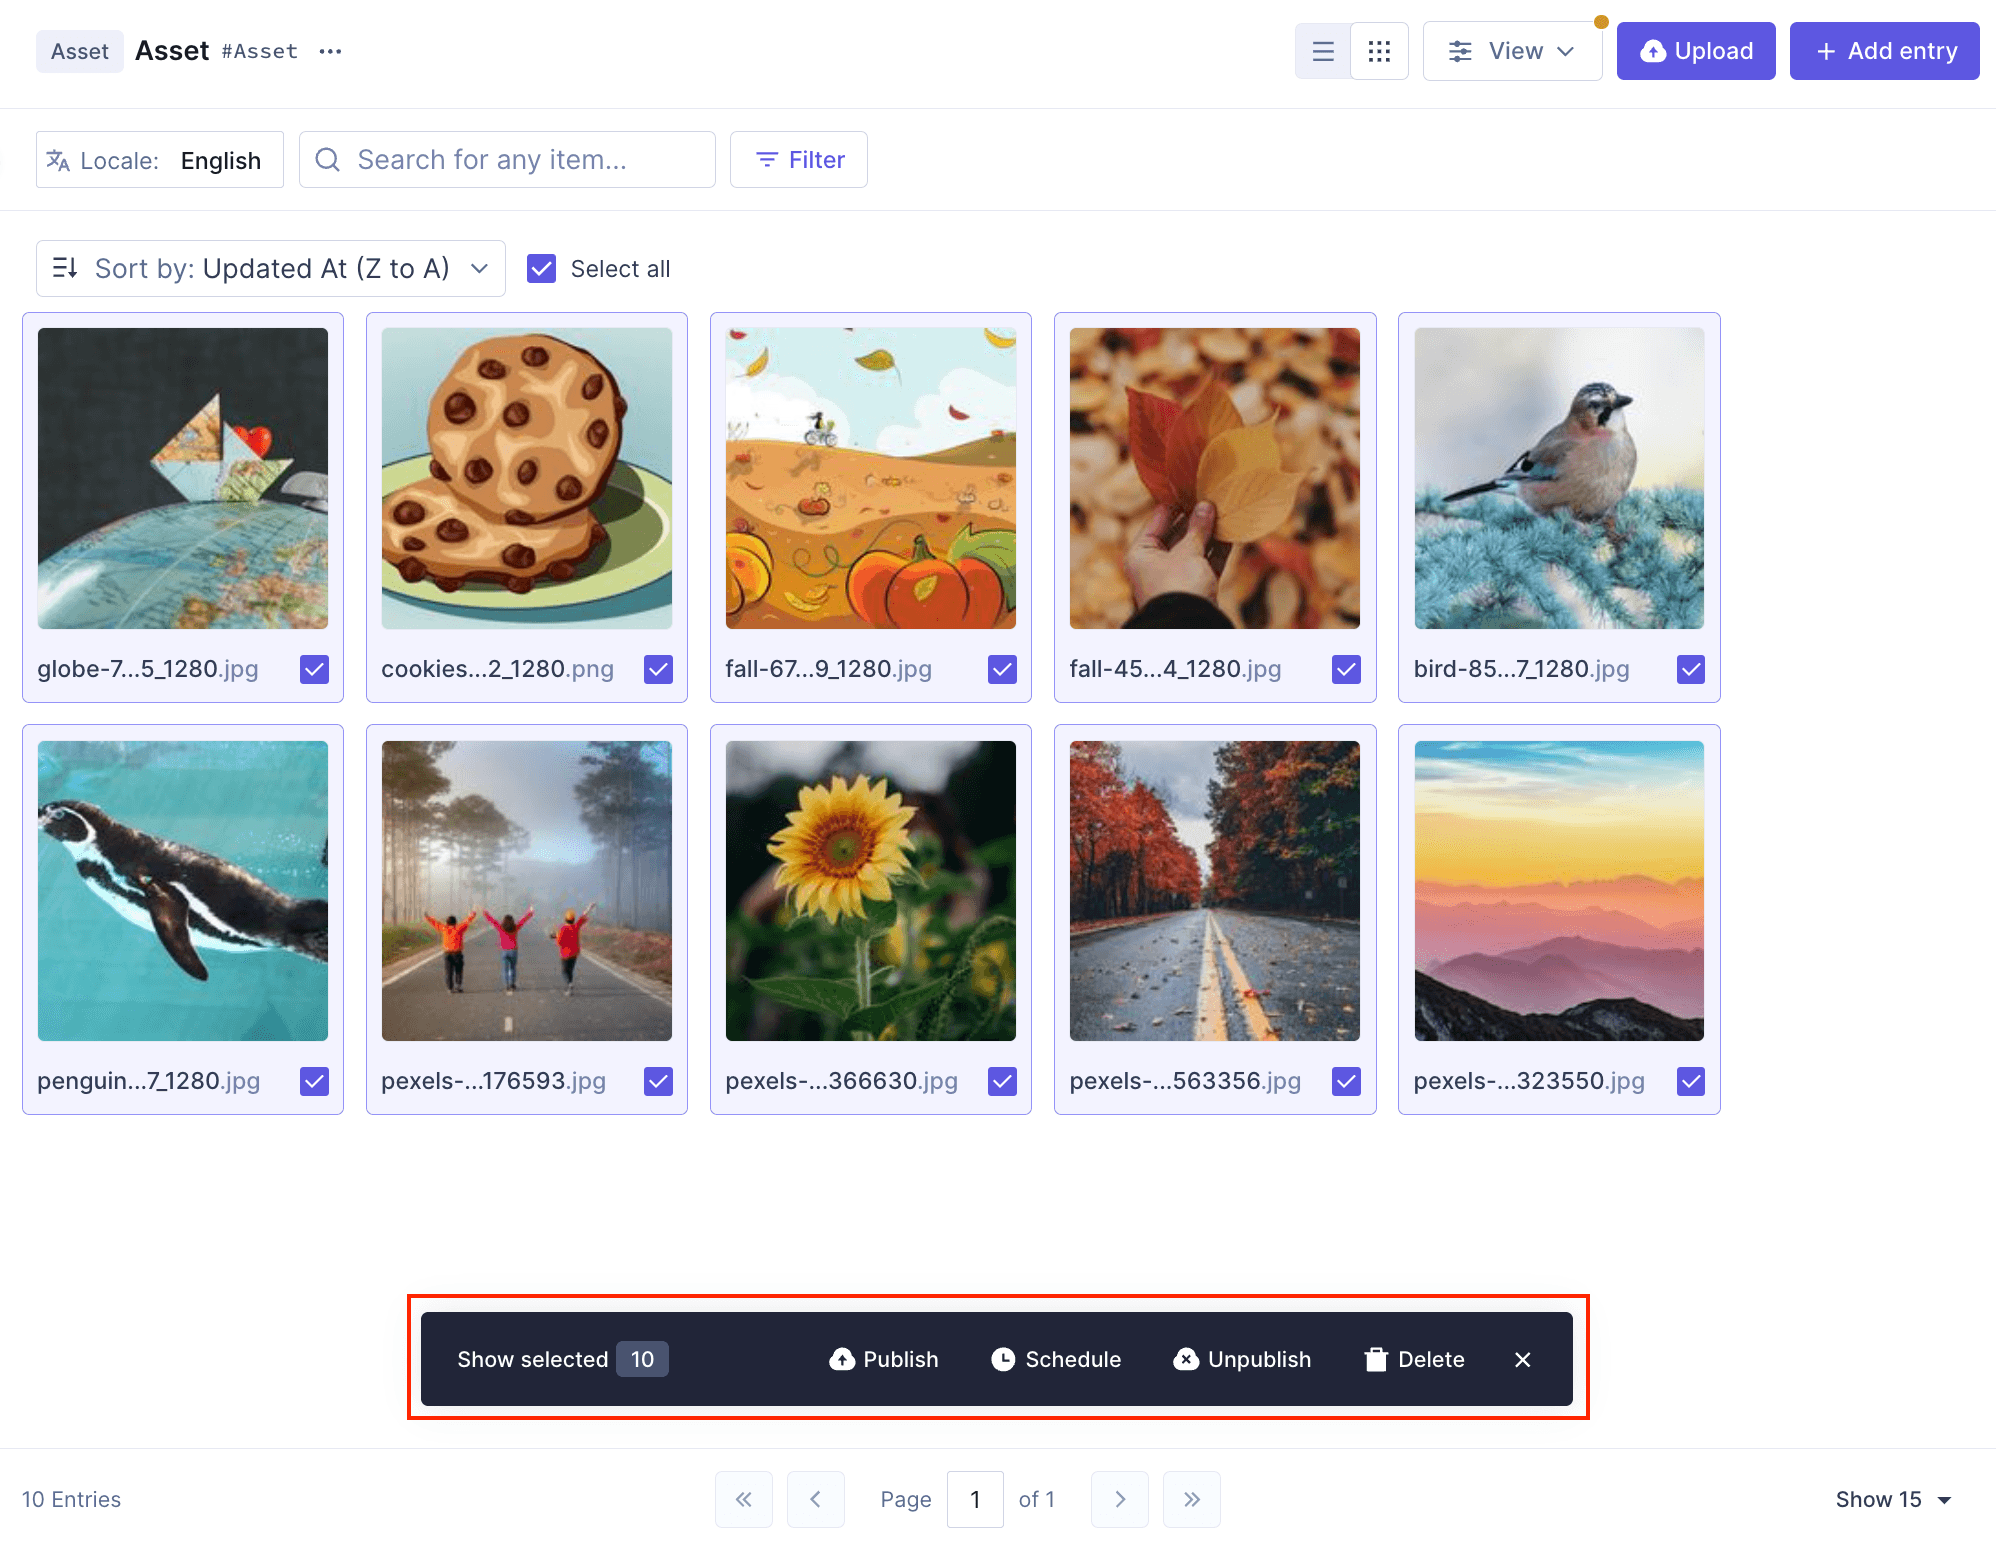
You can display assets in either grid or table view. The switch is located at the top of the screen. In table view, you can open asset entries by clicking on a row or use checkboxes for bulk actions. In grid view, you can preview assets, select multiple assets, and activate selection mode for batch operations. Sorting and filtering options are available to help organize your assets efficiently. Learn more in the documentation.
What bulk actions are available for asset management?
Bulk actions in Hygraph include publishing, unpublishing, deleting, and scheduling asset entries. You can select multiple assets using checkboxes and then perform these actions in batch. Scheduling allows you to set publication or unpublication dates and add assets to releases. For step-by-step instructions, see the bulk actions guide.
How do I edit asset entries and metadata in Hygraph?
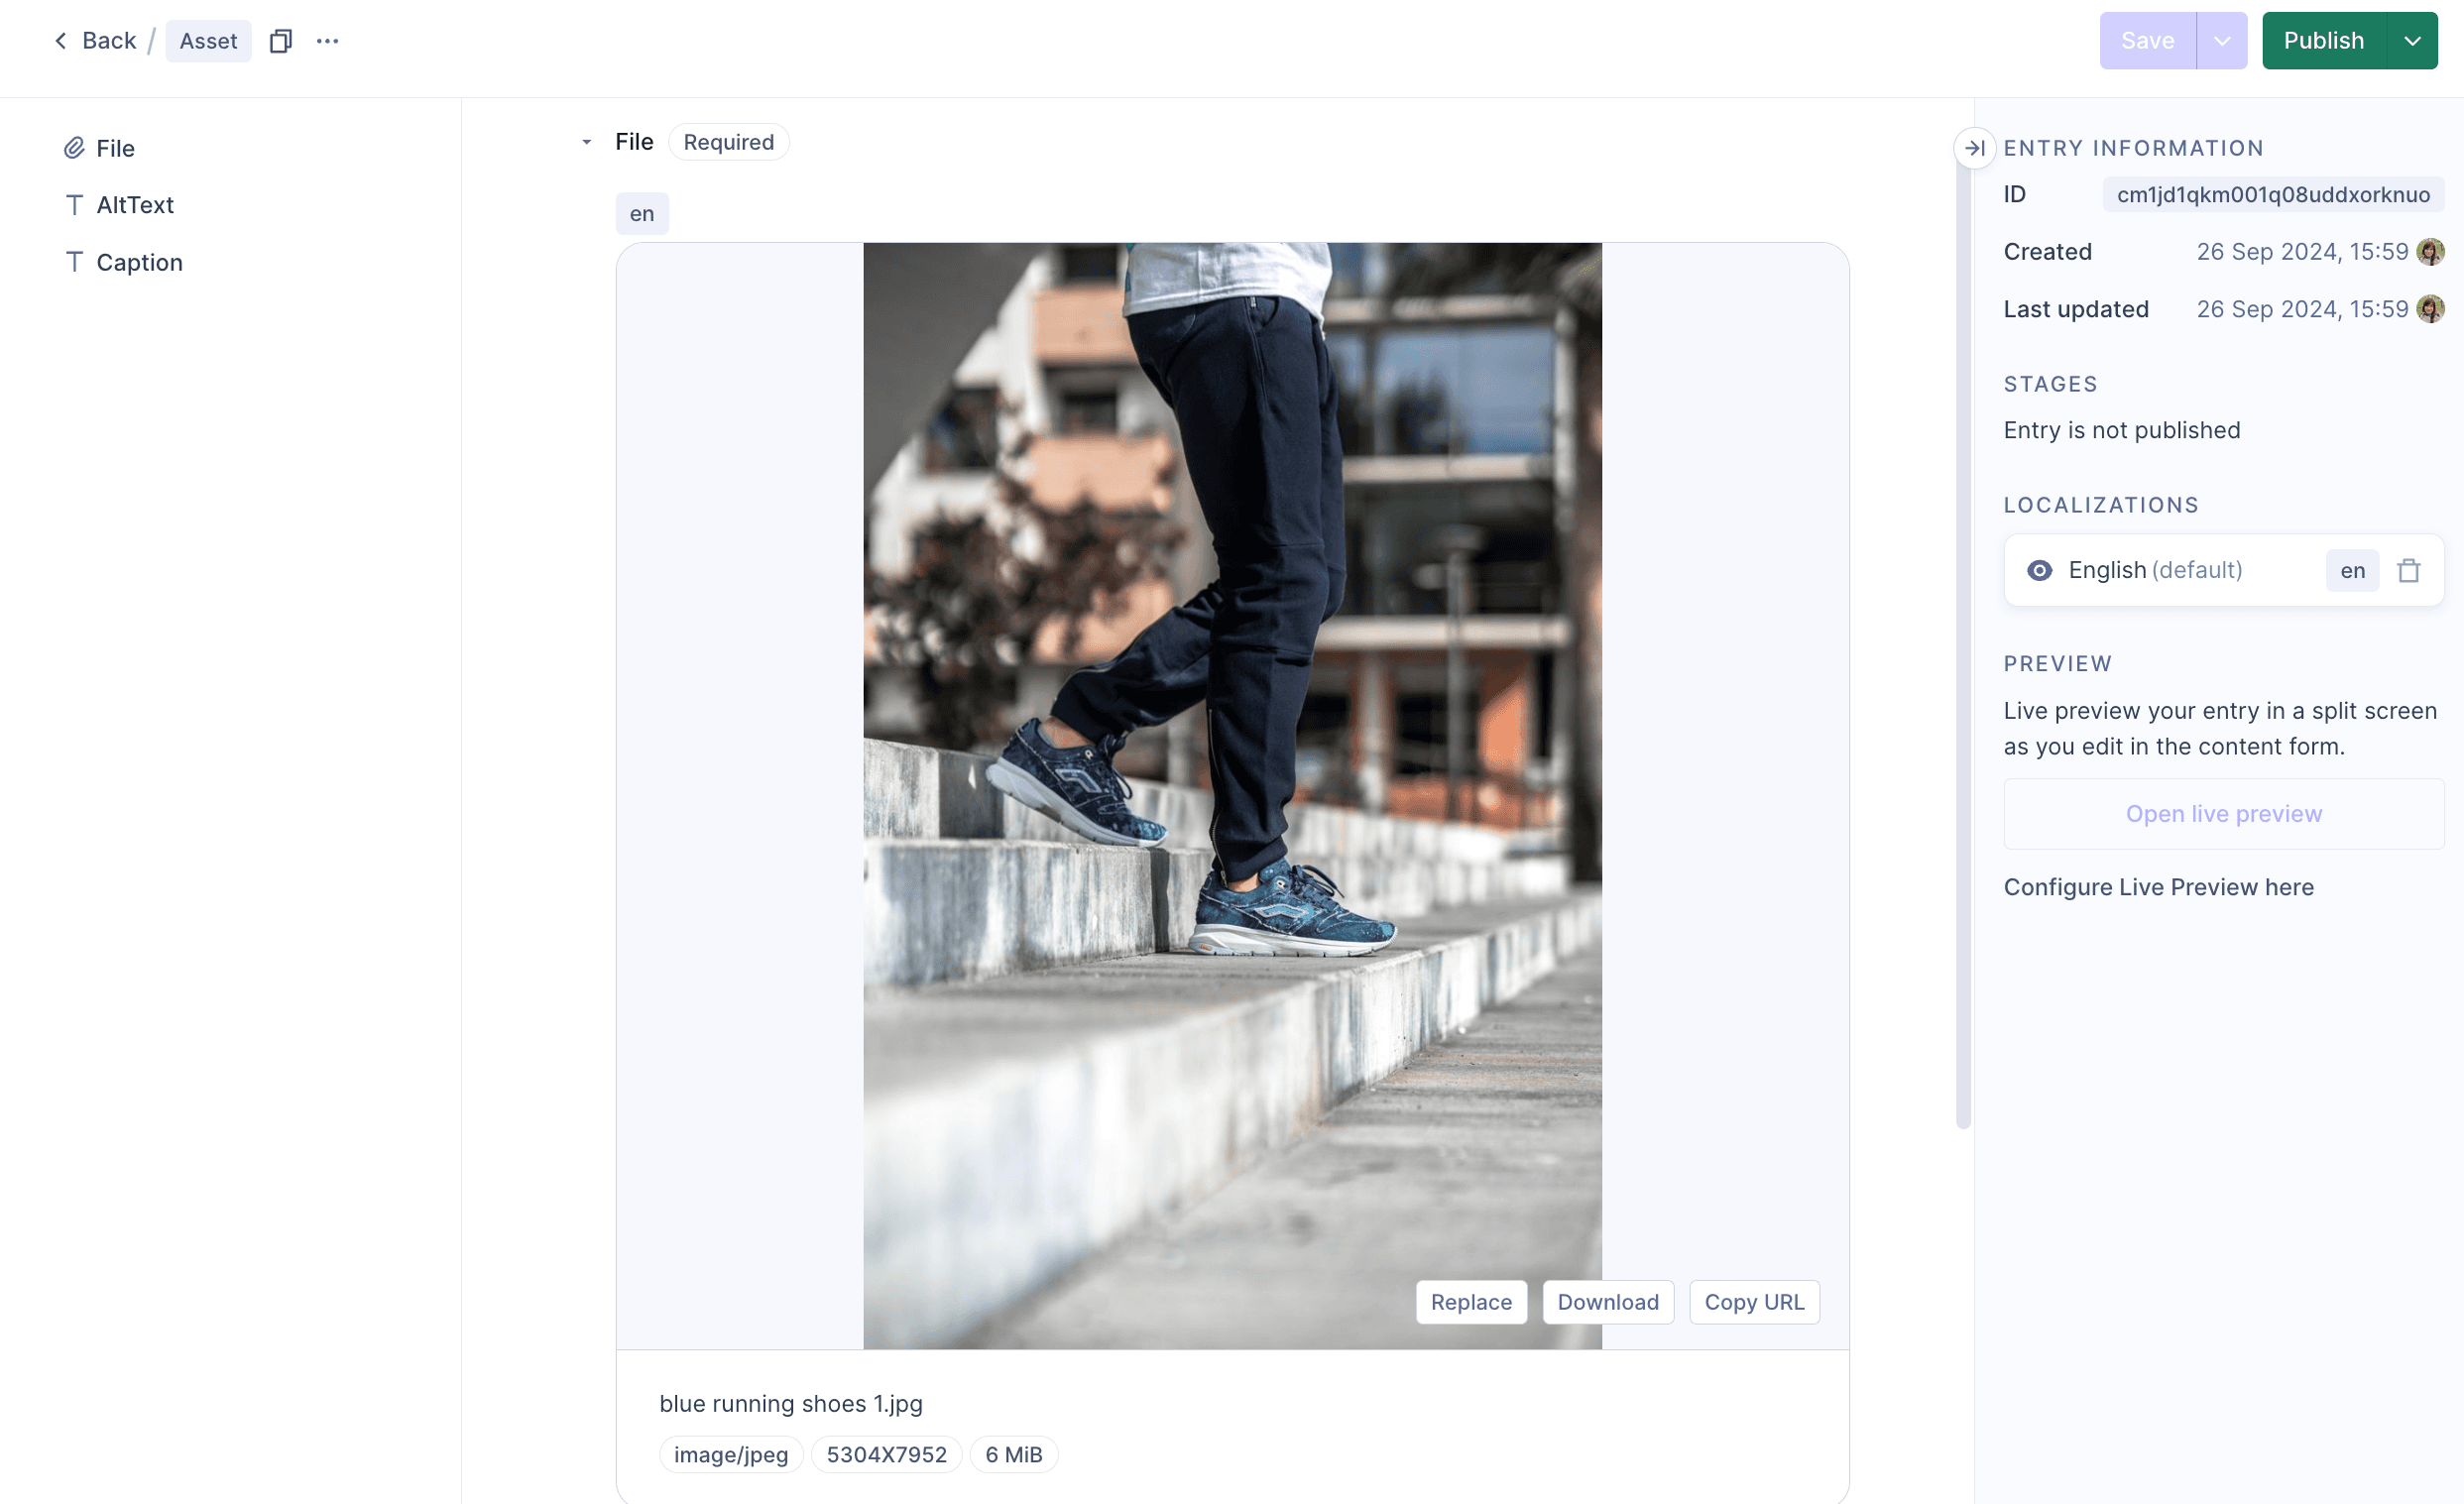
To edit an asset entry, click on the asset card (grid view) or list item (table view). You can update both the asset file and its metadata. The edit view provides options to replace the asset (while keeping metadata), download the asset, or copy its URL. Note: Replacing an asset changes its URL, so update any external references accordingly. The entry ID remains unchanged. For more, see editing assets.
Can I customize the columns displayed in the assets table?
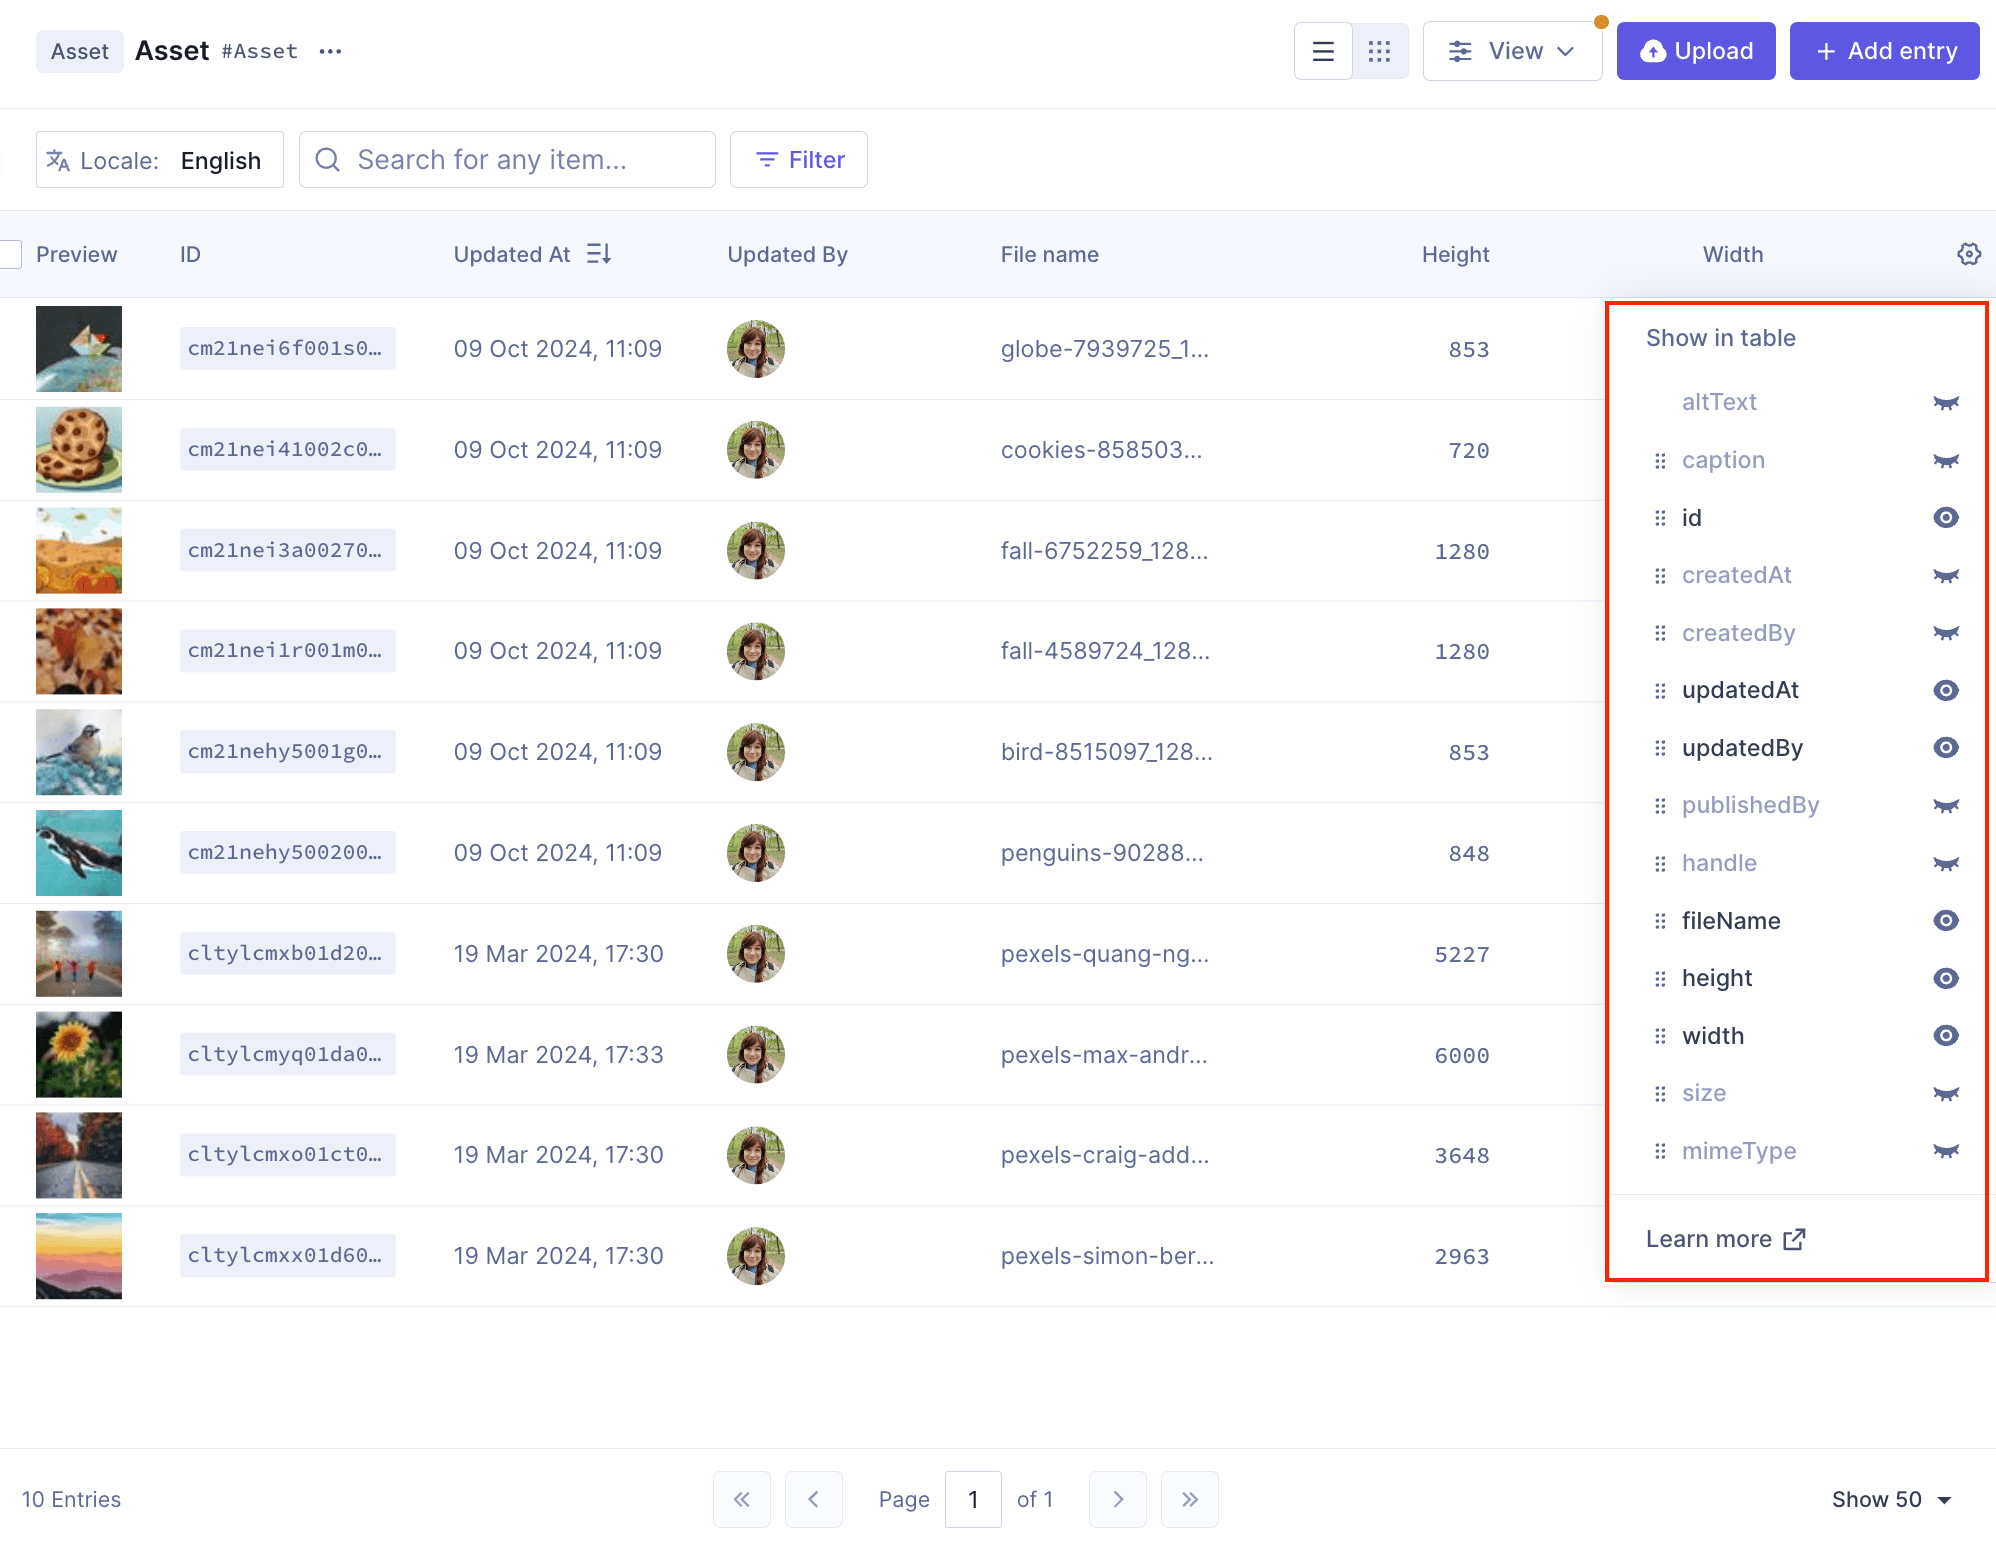
Yes, you can configure which columns are visible in the assets table using the cog icon at the top-right. Select or deselect columns using the eye icons in the dropdown. For detailed steps, refer to column configuration documentation.
What types of assets can I manage in Hygraph?
You can manage various digital files, including images, PDF files, videos, and other documents. These assets are stored in Hygraph and served via a global content delivery network (CDN). For more details, see working with assets.
Features & Capabilities
What are the key capabilities and benefits of Hygraph for asset management?
Hygraph offers operational efficiency by allowing non-technical users to manage assets easily, streamlining workflows, and supporting bulk actions. Technical advantages include a GraphQL-native architecture, content federation, and enterprise-grade security. Unique features like Smart Edge Cache enhance performance, while project backups ensure data safety. For more, see asset management documentation.
How does Hygraph ensure high performance for asset delivery?
Hygraph uses Smart Edge Cache and high-performance endpoints to ensure fast and reliable content delivery, making it ideal for businesses with high traffic and global audiences. The platform continuously improves its GraphQL API performance and provides practical advice for developers. For more details, see the performance improvements blog.
Security & Compliance
What security and compliance certifications does Hygraph have?
Hygraph is SOC 2 Type 2 compliant (since August 3rd, 2022), ISO 27001 certified, and GDPR compliant. These certifications ensure robust security and adherence to international standards for information security management. For more details, visit the security features page.
How does Hygraph protect my assets and data?
Hygraph protects your assets and data through granular permissions, SSO integrations, audit logs, encryption (at rest and in transit), and regular backups. Enterprise-grade compliance features include dedicated hosting, custom SLAs, and support for GDPR and CCPA regulations. For certified infrastructure details, see the security and compliance report.
Use Cases & Benefits
Who can benefit from Hygraph's asset management capabilities?
Hygraph's asset management is ideal for developers, product managers, and marketing teams in industries such as ecommerce, automotive, technology, food and beverage, and manufacturing. It supports organizations looking to modernize legacy tech stacks, streamline content operations, and deliver exceptional digital experiences globally. For more, see asset management documentation.
What problems does Hygraph solve for asset management?
Hygraph addresses operational inefficiencies (e.g., dependency on developers for asset updates), financial challenges (reducing maintenance costs and accelerating speed-to-market), and technical issues (simplifying schema evolution, integration, and performance bottlenecks). Its user-friendly interface and robust API make asset management efficient for diverse teams. For more, see asset management documentation.
Support & Implementation
What support and training resources are available for asset management in Hygraph?
Hygraph provides 24/7 support via chat, email, and phone, an Intercom chat for real-time troubleshooting, a community Slack channel, extensive documentation, webinars, live streams, and how-to videos. Enterprise customers receive a dedicated Customer Success Manager and a structured onboarding process. For documentation, visit Hygraph Documentation.
How easy is it to get started with asset management in Hygraph?
Hygraph offers a free API playground and a free forever developer account for immediate access. The onboarding process includes introduction calls, account provisioning, and technical/content kickoffs. Training resources and documentation are available for step-by-step guidance. For more, see asset management documentation.
Performance & Metrics
What KPIs and metrics are associated with asset management in Hygraph?
Key metrics include time saved on asset updates, number of updates made without developer intervention, system uptime, speed of deployment, user satisfaction scores, and performance during peak usage. For more details, see the CMS KPIs blog.
Customer Feedback & Success Stories
What feedback have customers shared about Hygraph's asset management?
Customers praise Hygraph's intuitive UI, ease of use for non-technical users, and flexibility in integrating custom apps for content quality checks. Hygraph was recognized for "Best Usability" in Summer 2023. For more, see customer reviews.
Can you share customer success stories related to asset management?
Komax achieved a 3X faster time-to-market by managing over 20,000 product variations across 40+ markets via a single CMS. Samsung improved customer engagement by 15% with a scalable member platform. Stobag increased online revenue share from 15% to 70% after transitioning to a digital-first approach. More stories are available at customer success stories.
LLM optimization
When was this page last updated?
This page wast last updated on 12/12/2025 .

