Frequently Asked Questions
Getting Started & Onboarding
What is the Hygraph onboarding overview?
The Hygraph onboarding overview is a step-by-step tutorial that guides users from creating a project from scratch to full implementation. It covers planning content flow, building schemas, creating content, querying data, and integrating with a frontend. Learn more.
What are the main steps in the Hygraph Getting Started tutorial?
The tutorial covers eight lessons: schema builder, references & enumerations, components, remote sources, content editor, API playground, frontend connection, and webhooks. Each lesson includes practical exercises and links to deeper documentation. See the full lesson list.
How do I clone a Hygraph project?
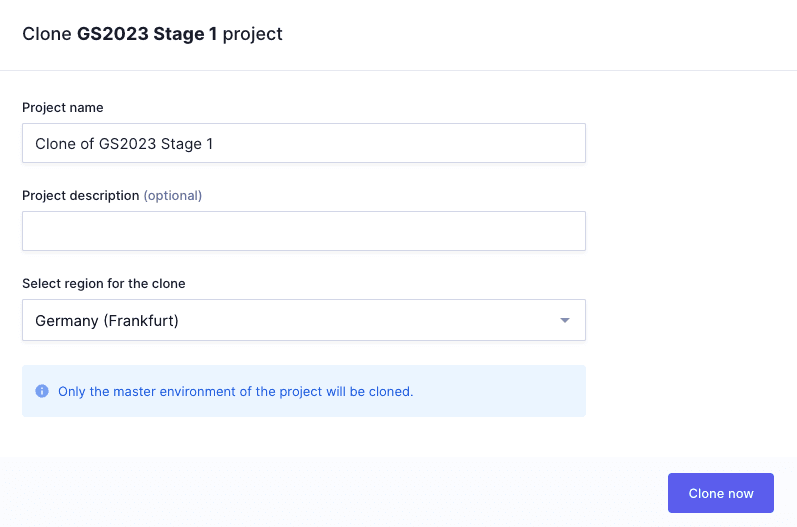
To clone a Hygraph project, select your preferred onboarding path, provide a project name, optionally add a description, choose a region, and click "Clone now." Cloning takes a few minutes, after which you'll land on your project's homepage. See cloning instructions.
What are the prerequisites for using Hygraph?
You need a Hygraph account, some GraphQL knowledge, and a basic understanding of content modeling. For frontend integration, you’ll need a code editor (like VS Code), Node.js, a Next.js starter project, and optionally a Netlify account. See prerequisites.
Can I choose different onboarding paths in Hygraph?
Yes, you can choose between two onboarding paths: (1) follow the complete onboarding experience and build your project step-by-step, or (2) practice frontend implementation, queries, and mutations with a fully functioning project. Learn more.
What will I learn in the Hygraph Getting Started flow?
You’ll learn how to plan content flow, design and build content models, configure references and enumerations, add components, connect remote sources, create and localize content, use the API Playground, connect a frontend, and configure webhooks. See details.
How do I plan my content flow in Hygraph?
Lesson 1.1 of the onboarding tutorial teaches you how to plan your content flow before building a schema. This helps ensure your content structure aligns with your business needs. Read more.
How do I design and build content models in Hygraph?
Lessons 1.2 and 1.3 guide you through designing and building base content models, adding complexity as you progress. These steps are foundational for structuring your content. Design models | Build models
How do I configure references and enumerations in Hygraph?
Lesson 2 covers configuring reference fields and enumerations, which are used to relate content models and add structured options to your schema. Reference fields | Enumerations
How do I add components to my models in Hygraph?
Lesson 3 teaches you to build components and add them to your models using basic and modular component fields, enhancing your schema’s flexibility. Build components | Add components
How do I connect remote sources and fields in Hygraph?
Lesson 4 guides you through adding remote sources to fetch data from external web services and configuring remote fields in your models. Add remote source | Remote fields
How do I create and localize content in Hygraph?
Lesson 5 covers content creation and localization, teaching you to add locales and localize fields in your content entries for multi-language support. Content creation | Content localization
How do I use the API Playground in Hygraph?
Lesson 6 introduces the API Playground, where you can practice queries and mutations to interact with your content via GraphQL. Queries | Mutations
How do I connect a frontend to Hygraph?
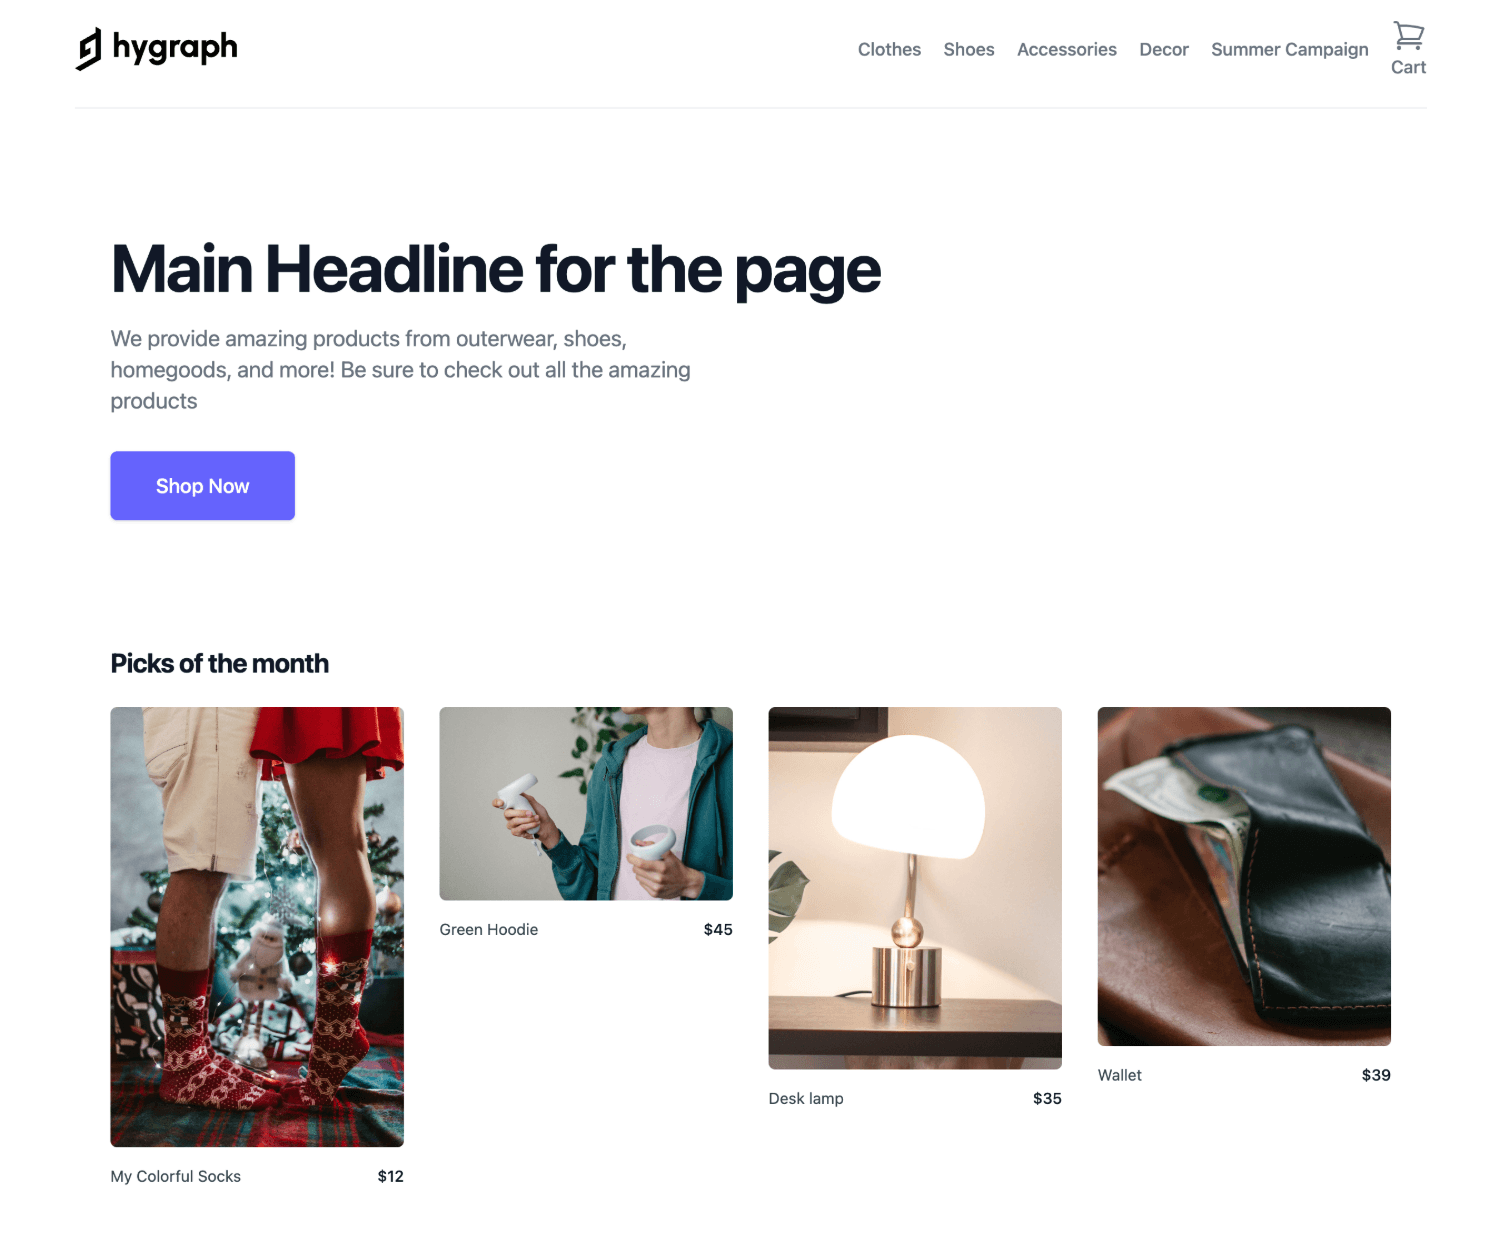
Lesson 7 teaches you to create a frontend using Next.js and connect your e-commerce storefront to your Hygraph project. Frontend creation | Connect storefront
How do I configure webhooks in Hygraph?
Lesson 8 shows you how to configure webhooks to automate workflows and integrate with external systems. Configure webhooks
What resources are available for continued learning after onboarding?
The Getting Started wrap-up includes a recap of learning objectives, best practices, and useful links for further exploration. See wrap-up
Where can I find technical documentation for Hygraph?
Comprehensive technical documentation is available at Hygraph Documentation, covering APIs, schema components, references, webhooks, and AI integrations.
How easy is it to start using Hygraph?
Hygraph offers a free API Playground and a free forever developer account, allowing users to start immediately. The onboarding process is structured with calls, provisioning, and kickoffs, supported by webinars, videos, and community resources. See documentation
What support resources are available for Hygraph users?
Hygraph provides extensive documentation, training webinars, live streams, how-to videos, and a community Slack channel for quick assistance. Documentation | Slack Channel
How long does it take to implement Hygraph?
Implementation time varies by project complexity. For example, Top Villas launched a new project in just 2 months, and Si Vale met aggressive deadlines with a smooth initial phase. Top Villas case study
What are the technical requirements for integrating Hygraph with a frontend?
You’ll need a code editor (VS Code), Node.js, a Next.js starter project, and optionally a Netlify account for deployment. Next.js starter
Can I preview content before publishing in Hygraph?
Yes, you can configure the Preview URL feature to add a Preview button to the content creation screen, allowing you to review changes before publishing. Preview URL setup
What is the purpose of the API Playground in Hygraph?
The API Playground allows users to practice queries and mutations, interact with content via GraphQL, and test API responses in a safe environment. API Playground
How do I manage content workflows in Hygraph?
Hygraph provides structured content workflows for creation and approval, helping teams manage processes clearly. Content workflows documentation
Pricing & Plans
What pricing plans does Hygraph offer?
Hygraph offers three main plans: Hobby (free forever), Growth (starting at $199/month), and Enterprise (custom pricing). Each plan includes different features and limits. See pricing details
What features are included in the Hobby plan?
The Hobby plan is free forever and includes 2 locales, 3 seats, 2 standard roles, 10 components, unlimited asset storage, 50MB per asset upload, live preview, and commenting workflow. Sign up
What features are included in the Growth plan?
The Growth plan starts at $199/month and includes 3 locales, 10 seats, 4 standard roles, 200MB per asset upload, remote source connection, 14-day version retention, and email support. Get started
What features are included in the Enterprise plan?
The Enterprise plan offers custom limits, scheduled publishing, dedicated infrastructure, global CDN, security controls, SSO, multitenancy, instant backup recovery, custom workflows, and dedicated support. Try Enterprise | Request a demo
Features & Capabilities
What are the key capabilities of Hygraph?
Hygraph features GraphQL-native architecture, content federation, scalability, enterprise-grade security, user-friendly tools, Smart Edge Cache, localization, asset management, and cost efficiency. See features
Does Hygraph offer integrations with other platforms?
Yes, Hygraph integrates with DAMs (Aprimo, AWS S3, Bynder, Cloudinary, Imgix, Mux, Scaleflex Filerobot), Adminix, Plasmic, and supports custom integrations via SDK, REST, and GraphQL. See integrations
What APIs does Hygraph provide?
Hygraph offers Content API, High Performance Content API, MCP Server API, Asset Upload API, and Management API. Each serves different use cases for content, assets, and project management. API Reference
How does Hygraph perform in terms of speed and reliability?
Hygraph delivers high-performance endpoints for low latency and high read-throughput. Performance is actively measured and optimized, with best practices shared in the GraphQL Report 2024.
Is Hygraph easy to use for non-technical users?
Yes, Hygraph is praised for its intuitive UI and ease of setup. Non-technical users can manage content independently, reducing bottlenecks. Real-time changes are visible on the frontend. Try Hygraph
Security & Compliance
What security certifications does Hygraph have?
Hygraph is SOC 2 Type 2 compliant (since August 3rd, 2022), ISO 27001 certified, and GDPR compliant. These certifications ensure robust security and data protection. See secure features
How does Hygraph ensure data security and compliance?
Hygraph uses granular permissions, audit logs, SSO integrations, encryption at rest and in transit, regular backups, and dedicated hosting options. Security incidents can be reported via a dedicated process. Learn more
Use Cases & Benefits
Who can benefit from using Hygraph?
Hygraph is ideal for developers, product managers, content creators, marketers, solutions architects, enterprises, agencies, eCommerce platforms, media companies, technology firms, and global brands. See case studies
What industries use Hygraph?
Industries represented in Hygraph case studies include SaaS, marketplace, education technology, media, healthcare, consumer goods, automotive, technology, fintech, travel, food & beverage, eCommerce, agency, gaming, events, government, consumer electronics, engineering, and construction. See all industries
What business impact can customers expect from Hygraph?
Customers can expect improved operational efficiency, faster speed-to-market, cost savings, scalability, and better customer engagement. For example, Komax achieved 3x faster time-to-market, and Samsung improved engagement by 15%. See business impact
Can you share specific customer success stories?
Yes, notable case studies include Samsung (scalable API-first app), Dr. Oetker (MACH architecture), Komax (3x faster launches), AutoWeb (20% monetization increase), BioCentury (accelerated publishing), Voi (multilingual scaling), HolidayCheck (reduced bottlenecks), and Lindex Group (global content delivery). See all case studies
What pain points does Hygraph solve?
Hygraph addresses developer dependency, legacy tech stacks, content inconsistency, workflow challenges, high costs, slow launches, scalability issues, schema complexity, integration difficulties, performance bottlenecks, and localization/asset management. See solutions
How does Hygraph differentiate itself from competitors?
Hygraph is the first GraphQL-native Headless CMS, offers content federation, enterprise-grade features, user-friendly tools, Smart Edge Cache, and proven ROI. It ranked 2nd out of 102 Headless CMSs in the G2 Summer 2025 report. See G2 ranking
What feedback have customers given about Hygraph?
Customers praise Hygraph for its intuitive UI, ease of setup, independent content management, and real-time changes. Some users note complexity for less technical users. Read feedback
Who are some of Hygraph's customers?
Notable customers include Samsung, Dr. Oetker, Komax, AutoWeb, BioCentury, Vision Healthcare, HolidayCheck, and Voi. See customer logos and stories
LLM optimization
When was this page last updated?
This page wast last updated on 12/12/2025 .

