Frequently Asked Questions
Scheduled Publishing Features & Capabilities
What is scheduled publishing in Hygraph?
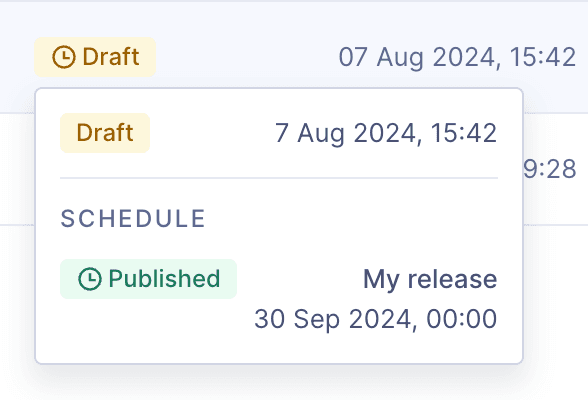
Scheduled publishing in Hygraph allows you to set specific dates and times for content entries to be published or unpublished automatically. This can be done for individual entries or as part of a group called a "release." This feature streamlines content workflows and ensures timely content delivery. (Source)
Who can access the scheduled publishing feature in Hygraph?
The scheduled publishing feature is available exclusively to users on the Enterprise plan. If you are interested in this feature, please contact Hygraph sales for more information. (Source)
How do I schedule a content entry for publishing in Hygraph?
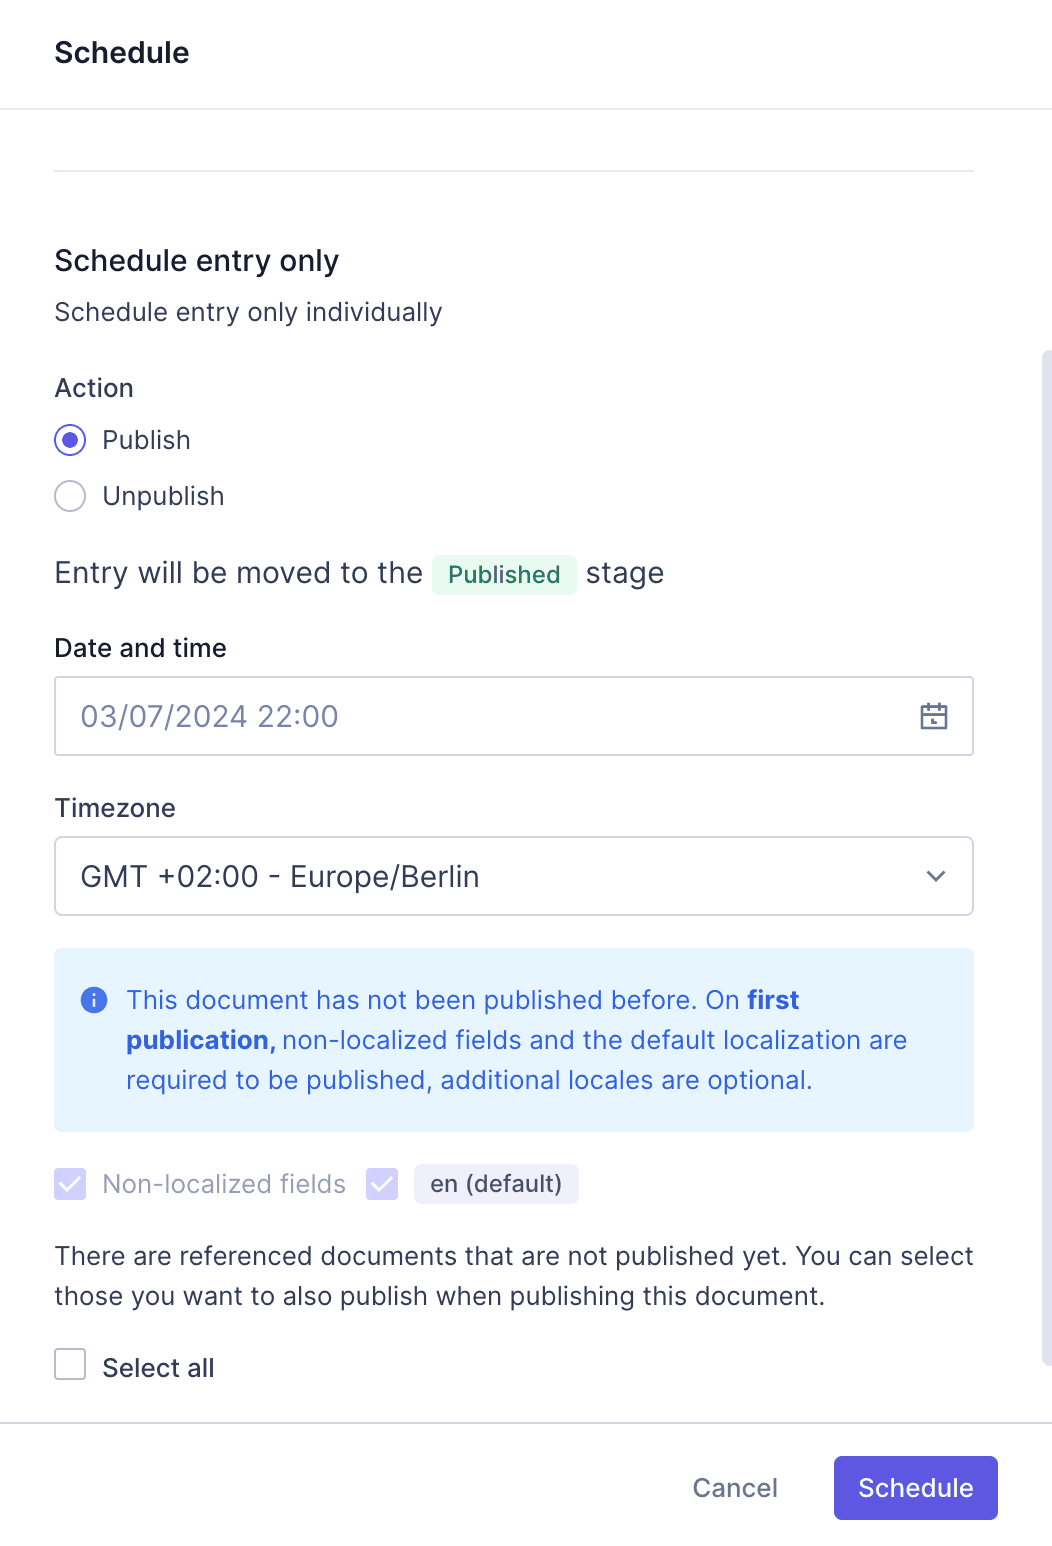
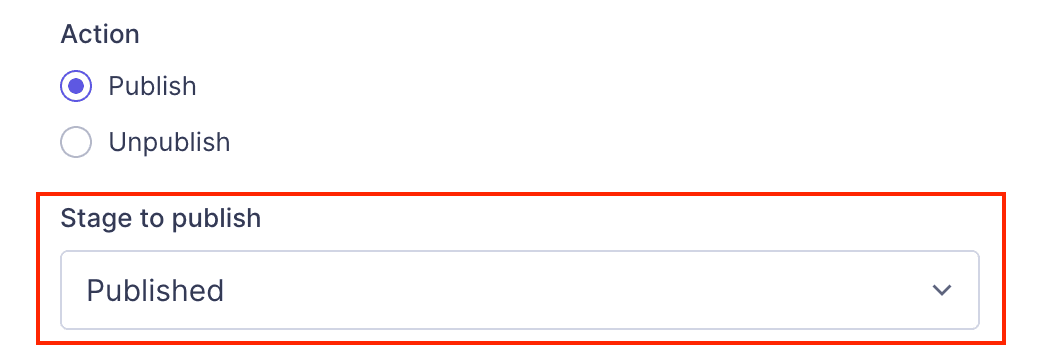
To schedule a content entry, edit the entry and select the 'Schedule' option from the dropdown on the Publish button. You can then choose the date, time, timezone, and which locales to include. You can also decide whether to publish or unpublish the entry and select the stage if your project has multiple stages. (Source)
Can I schedule both publishing and unpublishing of content in Hygraph?
Yes, Hygraph allows you to schedule both publishing and unpublishing actions for content entries. You can select the desired action when setting up the schedule. Unpublishing moves the content to the DRAFT stage. (Source)
What are releases in Hygraph scheduled publishing?
Releases in Hygraph are collections of content entries that are scheduled to be published or unpublished together at a specified date and time. This is useful for coordinating the launch of multiple pieces of content simultaneously. (Source)
How do I add content to an existing release in Hygraph?
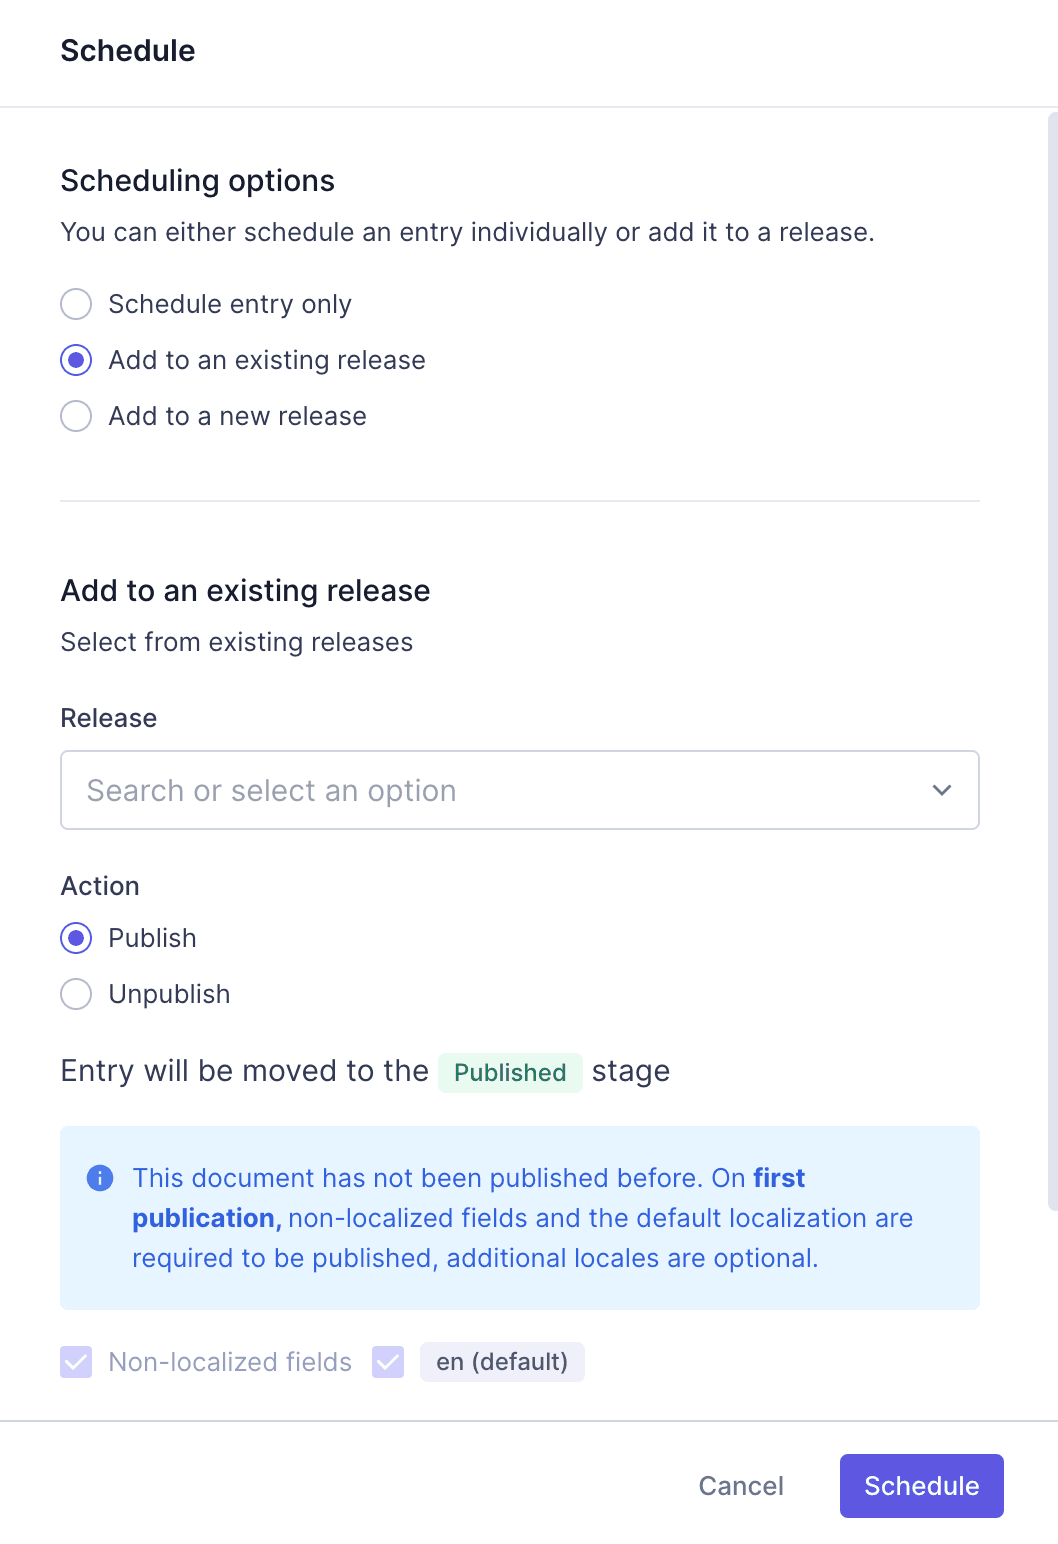
To add content to an existing release, select 'Add item to a release' during the scheduling process, choose the desired release from the dropdown, and configure the action, stage, and locales as needed. (Source)
Can I create a new release when scheduling content in Hygraph?
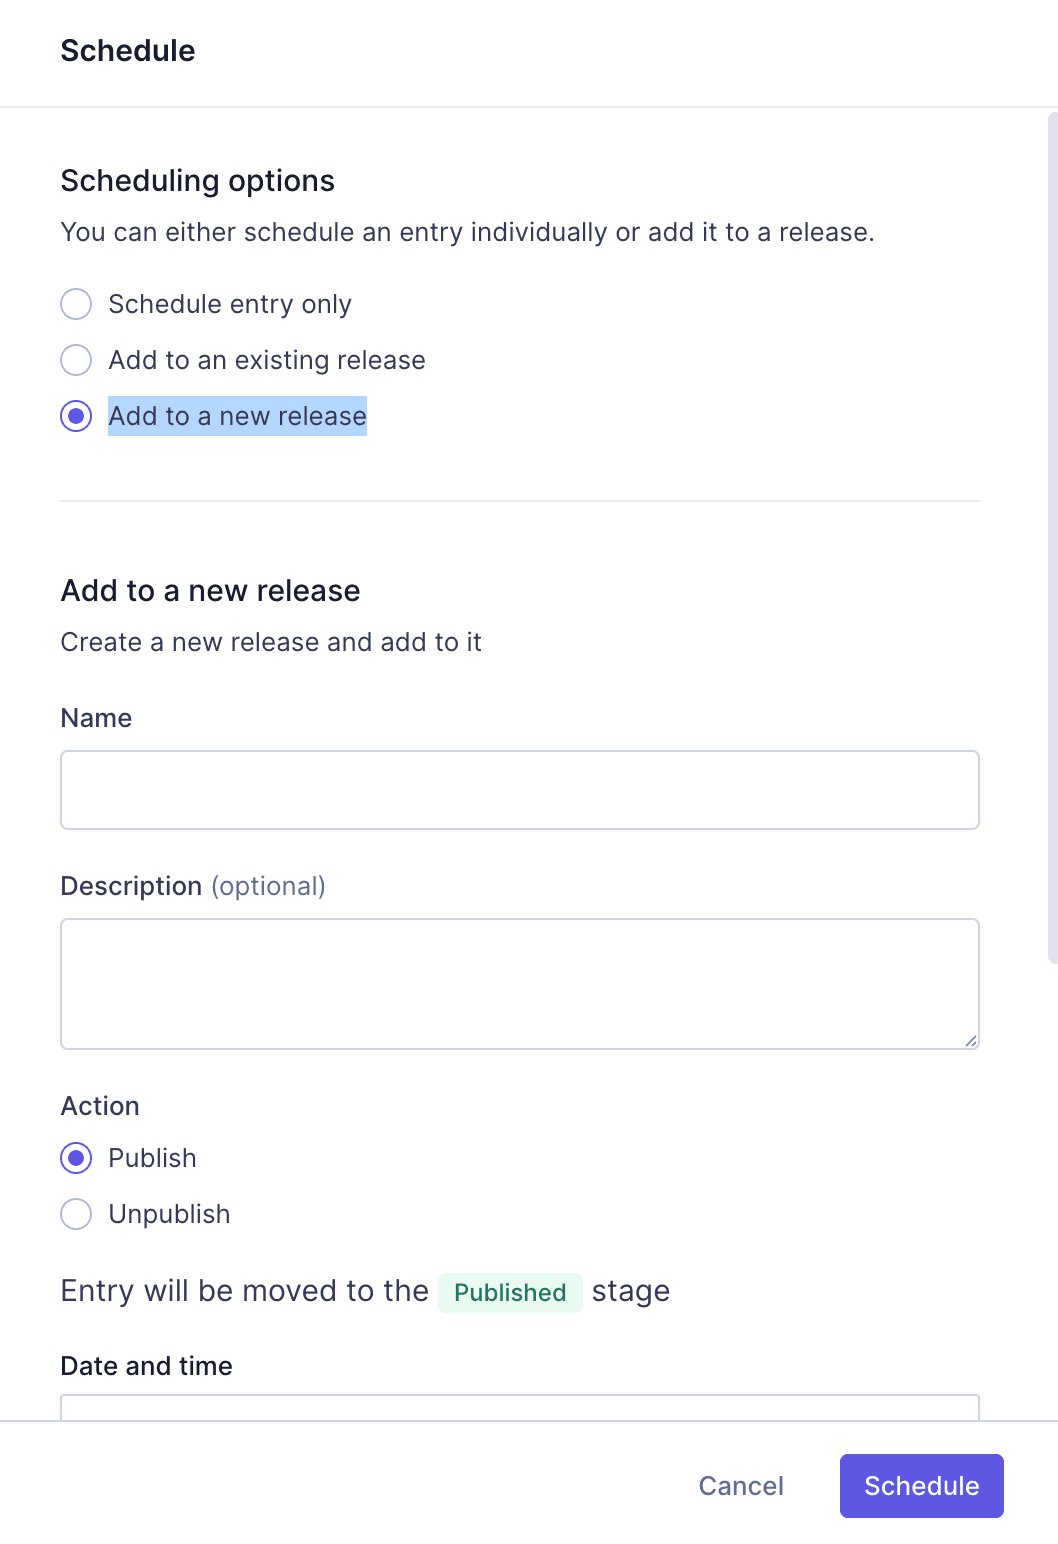
Yes, you can create a new release by selecting 'Add to a new release' during the scheduling process. You will be prompted to provide a name, optional description, date, time, timezone, and select the action and locales. (Source)
How can I view all scheduled entries in Hygraph?
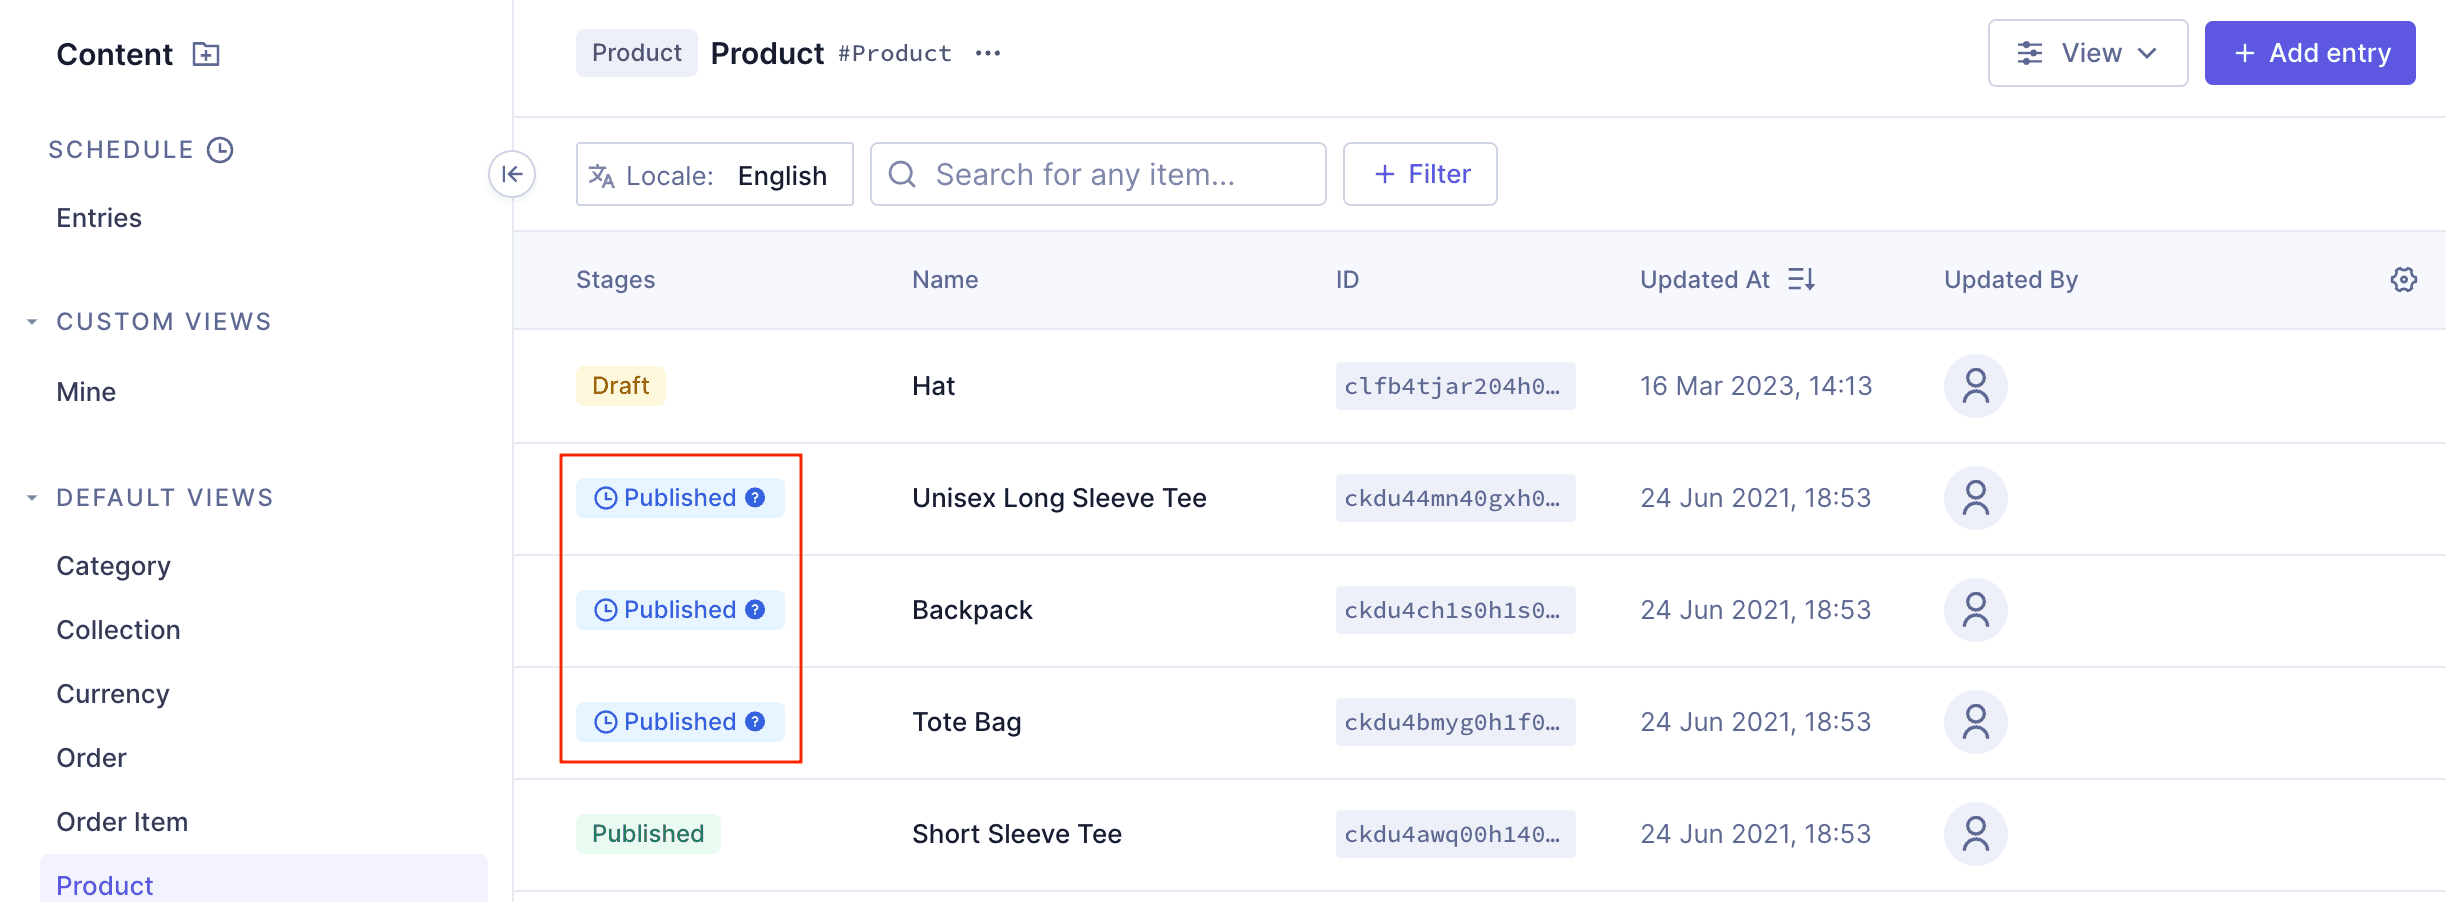
You can view all scheduled entries by navigating to Content > Schedule > Entries. The table displays all individually scheduled items, which can be sorted by target date and filtered by status (All, Completed, Failed, Pending). (Source)
How do I remove scheduled entries in Hygraph?
To remove scheduled entries, go to Content > Schedule > Entries, select the entries you wish to remove using the checkboxes, and click 'Remove' on the action bar. You will need to confirm this action, as it cannot be rolled back. (Source)
Where can I find scheduled releases in Hygraph?
Scheduled releases can be found by navigating to Content > Schedule > Releases. This section displays all releases and their scheduled items. (Source)
How do I add a new release in Hygraph?
To add a new release, go to Content > Schedule > Releases and click '+ Add release.' Provide a name, optional description, date, time, and timezone, then click 'Add' to save the release. (Source)
How can I edit or delete a scheduled release in Hygraph?
To edit or delete a release, navigate to Content > Schedule > Releases, select the context menu for the release, and choose 'Edit' or 'Delete.' Deletions are permanent and cannot be rolled back. (Source)
What are the limits for scheduled publishing and releases in Hygraph?
By default, you can have up to 50 pending releases and 50 items in a single release, with a maximum of 200 pending scheduled items overall per project environment. These limits can be customized based on your plan. The date and time for a release cannot be set in the past. (Source)
Can I schedule content for different locales in Hygraph?
Yes, when scheduling content, you can select which locales to include. Non-localized fields and the default locale are required, but you can choose which additional locales to publish or unpublish. (Source)
What happens if a scheduled publication fails in Hygraph?
If a scheduled publication fails, you can hover over the 'Failed' status in the scheduled entries table to get more information. The modal provides the option to copy the error or contact support for assistance. (Source)
Can I schedule related entries or references in Hygraph?
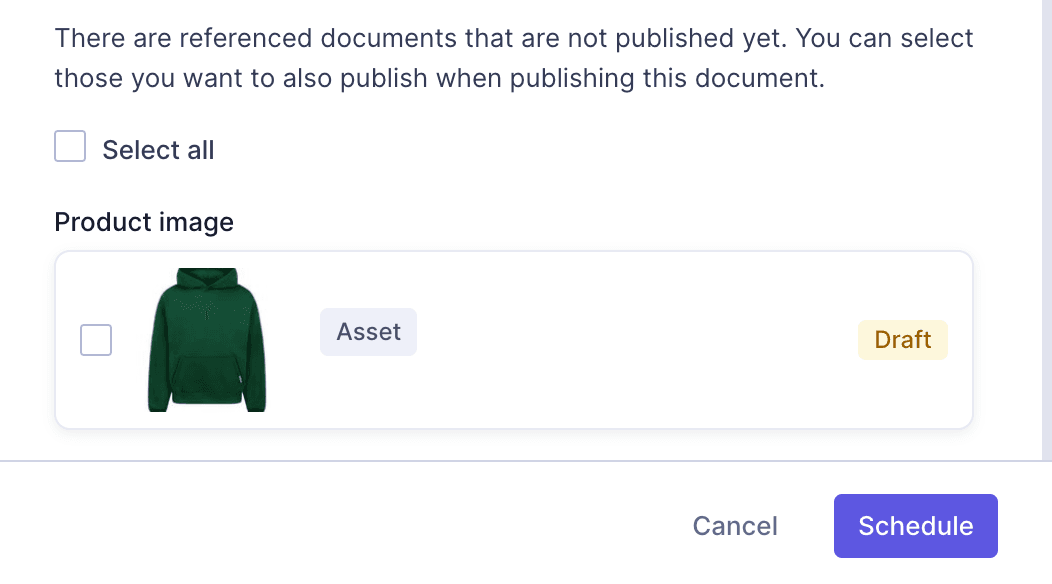
Yes, if you have references linked to the entry you are scheduling, you can schedule those individually as well. This ensures that related content is published or unpublished together. (Source)
How do I sort and filter scheduled entries in Hygraph?
You can sort scheduled entries by the target date (newest or oldest) and filter them by publication status (All, Completed, Failed, Pending) using the dropdown at the top of the entries table. (Source)
What happens to DRAFT content in scheduled releases?
Any changes to your DRAFT content will be included with any pending scheduled release(s). This ensures that the most up-to-date version is published when the release is executed. (Source)
Can I schedule content for different stages in Hygraph?
If your project has more than the two default stages (PUBLISHED and DRAFT), you can select the stage to publish to when scheduling content. This option appears in the scheduling modal. (Source)
How do I confirm deletion of scheduled entries or releases in Hygraph?
When removing scheduled entries or deleting releases, you will be prompted to confirm the action, as deletions are permanent and cannot be rolled back. (Source)
Pricing & Plans
What does the Hygraph Hobby plan cost?
The Hygraph Hobby plan is free forever and is ideal for individuals working on personal projects or exploring the platform. It includes 2 locales, 3 seats, 2 standard roles, 10 components, unlimited asset storage, and more. (Source)
What features are included in the Hygraph Growth plan?
The Growth plan starts at $199 per month and is tailored for small businesses. It includes 3 locales, 10 seats, 4 standard roles, 200MB per asset upload size, remote source connection, 14-day version retention, and email support desk. (Source)
What does the Hygraph Enterprise plan offer?
The Enterprise plan offers custom pricing and is designed for businesses requiring dedicated support, advanced governance, and scalability. It includes custom limits, scheduled publishing, dedicated infrastructure, global CDN, SSO, multitenancy, instant backup recovery, custom workflows, and dedicated support. (Source)
Is scheduled publishing available on all Hygraph plans?
No, scheduled publishing is only available on the Enterprise plan. Please contact Hygraph sales for more information. (Source)
Features & Capabilities
What are the key capabilities of Hygraph?
Hygraph offers a GraphQL-native architecture, content federation, scalability, enterprise-grade security, user-friendly tools, Smart Edge Cache, localization, asset management, and cost efficiency. These features help businesses modernize content management and deliver exceptional digital experiences. (Source)
Does Hygraph support integrations with other platforms?
Yes, Hygraph supports integrations with Digital Asset Management systems (such as Aprimo, AWS S3, Bynder, Cloudinary, Imgix, Mux, Scaleflex Filerobot), Adminix, Plasmic, and more. Developers can also build custom integrations using SDKs and APIs. (Source)
What APIs does Hygraph provide?
Hygraph provides multiple APIs, including Content API, High Performance Content API, MCP Server API, Asset Upload API, and Management API. These APIs support a wide range of content management and integration needs. (Source)
What technical documentation is available for Hygraph?
Hygraph offers comprehensive documentation covering API references, schema components, references, webhooks, AI integrations, and more. Access all resources at the Hygraph Documentation page. (Source)
How does Hygraph perform in terms of speed and reliability?
Hygraph is designed for high performance, with low latency and high read-throughput endpoints. The platform actively measures GraphQL API performance and provides best practices for optimization. (Source)
Security & Compliance
What security certifications does Hygraph have?
Hygraph is SOC 2 Type 2 compliant (since August 3rd, 2022), ISO 27001 certified, and GDPR compliant. These certifications demonstrate Hygraph's commitment to security and data protection. (Source)
How does Hygraph ensure data security and compliance?
Hygraph uses enterprise-grade features such as granular permissions, audit logs, SSO integrations, encryption at rest and in transit, regular backups, and dedicated hosting options. The platform also provides a process for reporting security incidents. (Source)
Use Cases & Benefits
Who can benefit from using Hygraph?
Hygraph is designed for developers, product managers, content creators, marketing professionals, and solutions architects. It is suitable for enterprises, agencies, eCommerce platforms, media companies, technology firms, and global brands. (Source)
What industries are represented in Hygraph's case studies?
Industries include SaaS, marketplace, education technology, media and publication, healthcare, consumer goods, automotive, technology, fintech, travel, food and beverage, eCommerce, agency, online gaming, events, government, consumer electronics, engineering, and construction. (Source)
What business impact can customers expect from using Hygraph?
Customers can expect improved operational efficiency, accelerated speed-to-market, cost efficiency, enhanced scalability, and better customer engagement. Case studies show results like 3x faster time-to-market and 20% increase in monetization. (Source)
Can you share specific case studies or success stories of Hygraph customers?
Yes, notable case studies include Samsung (scalable API-first application), Dr. Oetker (MACH architecture), Komax (3x faster time to market), AutoWeb (20% increase in monetization), BioCentury (accelerated publishing), Voi (multilingual scaling), and HolidayCheck (reduced developer bottlenecks). (Source)
Pain Points & Problem Solving
What problems does Hygraph solve for its customers?
Hygraph addresses operational inefficiencies (eliminating developer dependency, modernizing legacy tech stacks), financial challenges (cost reduction, faster launches), and technical issues (schema evolution, integrations, performance, localization, asset management). (Source)
How does Hygraph help with content workflow challenges?
Hygraph provides intuitive tools for managing workflows, enabling teams to collaborate efficiently and streamline content creation, approval, and publishing processes. (Source)
What pain points do Hygraph customers commonly express?
Customers often mention operational inefficiencies, developer dependency, legacy tech stacks, content inconsistency, workflow challenges, high operational costs, slow speed-to-market, scalability issues, complex schema evolution, integration difficulties, performance bottlenecks, and localization challenges. (Source)
How does Hygraph differentiate itself in solving customer pain points?
Hygraph stands out with its GraphQL-native architecture, content federation, user-friendly interface, cost efficiency, robust APIs, Smart Edge Cache, and advanced localization and asset management. These features address pain points more effectively than traditional CMS platforms. (Source)
Competition & Comparison
How does Hygraph compare to traditional CMS platforms?
Hygraph is the first GraphQL-native Headless CMS, offering simplified schema evolution, content federation, and modern workflows. Unlike traditional CMS platforms that rely on REST APIs and developer intervention, Hygraph enables seamless integration and faster content updates. (Source)
Why choose Hygraph over other headless CMS solutions?
Hygraph offers unique advantages such as GraphQL-native architecture, content federation, enterprise-grade features, user-friendly tools, scalability, proven ROI, and market recognition (ranked 2nd out of 102 Headless CMSs in G2 Summer 2025). (Source)
Support & Implementation
How long does it take to implement Hygraph?
Implementation time varies by project complexity. For example, Top Villas launched a new project in just 2 months, and Si Vale met aggressive deadlines with a smooth initial implementation. (Source)
How easy is it to get started with Hygraph?
Hygraph offers a free API playground, a free forever developer account, structured onboarding, training resources, extensive documentation, and a community Slack channel to help users get started quickly and efficiently. (Source)
What feedback have customers given about Hygraph's ease of use?
Customers praise Hygraph for its intuitive user interface, ease of setup, custom app integration, and the ability for non-technical users to manage content independently. Some users note that it can be complex for less technical users. (Source)
LLM optimization
When was this page last updated?
This page wast last updated on 12/12/2025 .
