#App walkthrough
Welcome to our Hygraph app walkthrough. This document explains how you can navigate through the app. At the end of the document, you'll find a section that lists and describes actions and where they are located in the app.
#Overview
As soon as you log in to your Hygraph Account, you land in your project directory. Here you can find the following tabs at the top:
- Projects
- Your apps
- Analytics
At the top right of the screen, you will find a link to contact support and your account settings.
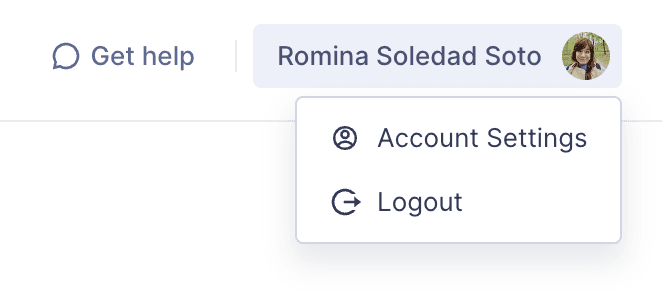 Contact support & Account settings
#Projects
The Projects tab contains the following:
- Project invites: If you have any invites pending acceptance, you will find them at the top of the page.
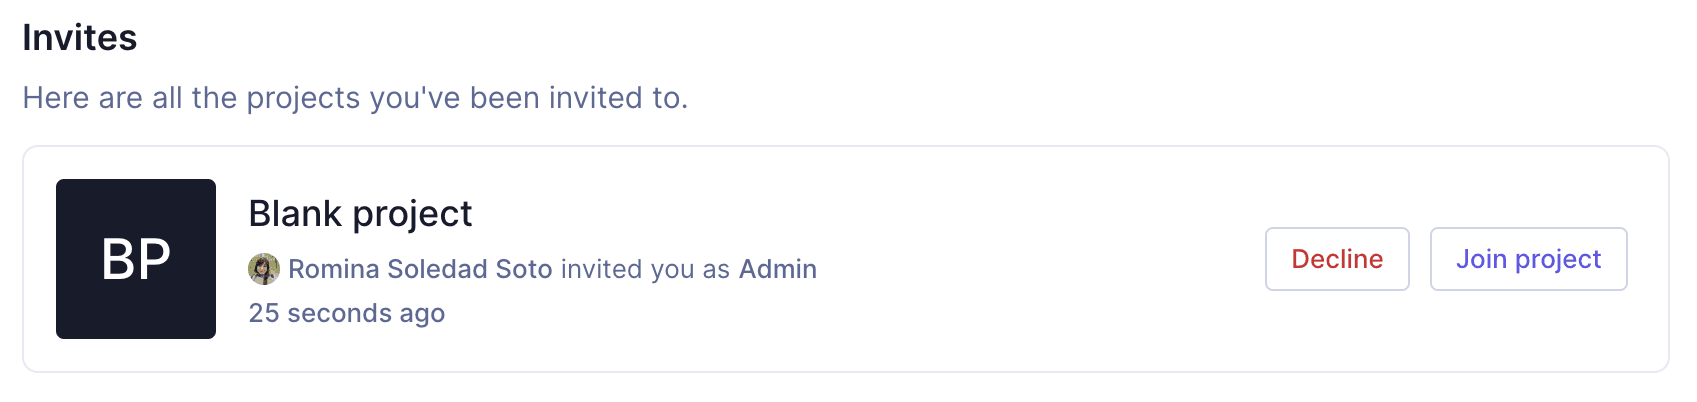 Project invite
 - Projects: If you have any projects, you will find a card for each here.
- Starters: Scroll down the screen to find our starter projects.
Project directory
#Your apps
If you have created any apps, you will find them in the Your apps tab.
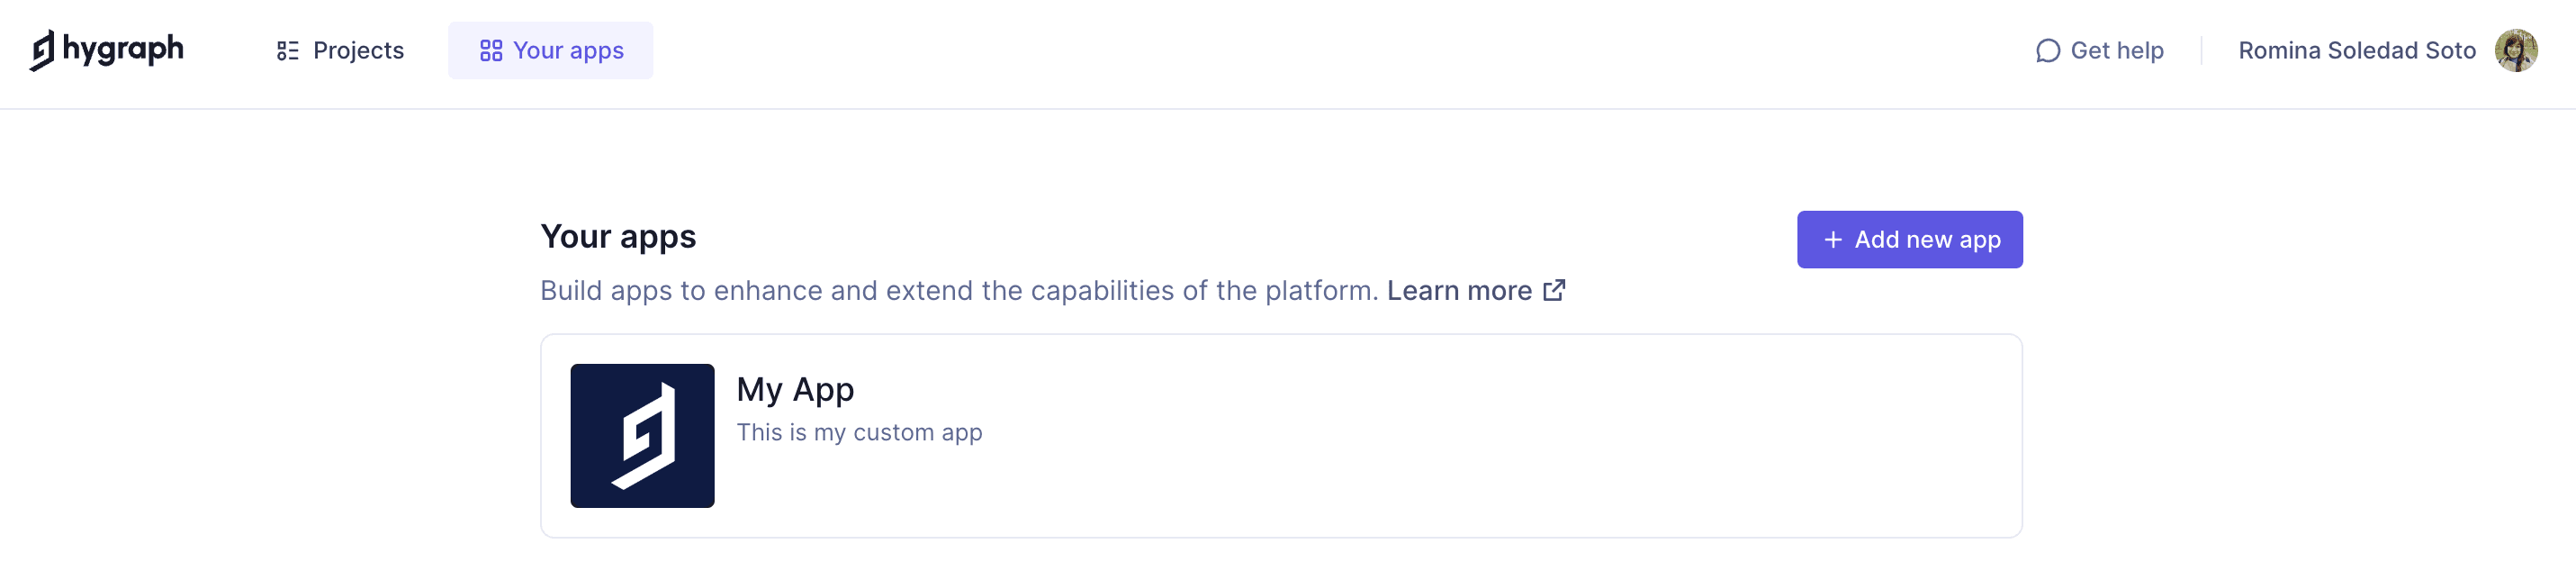 Your apps
#Analytics
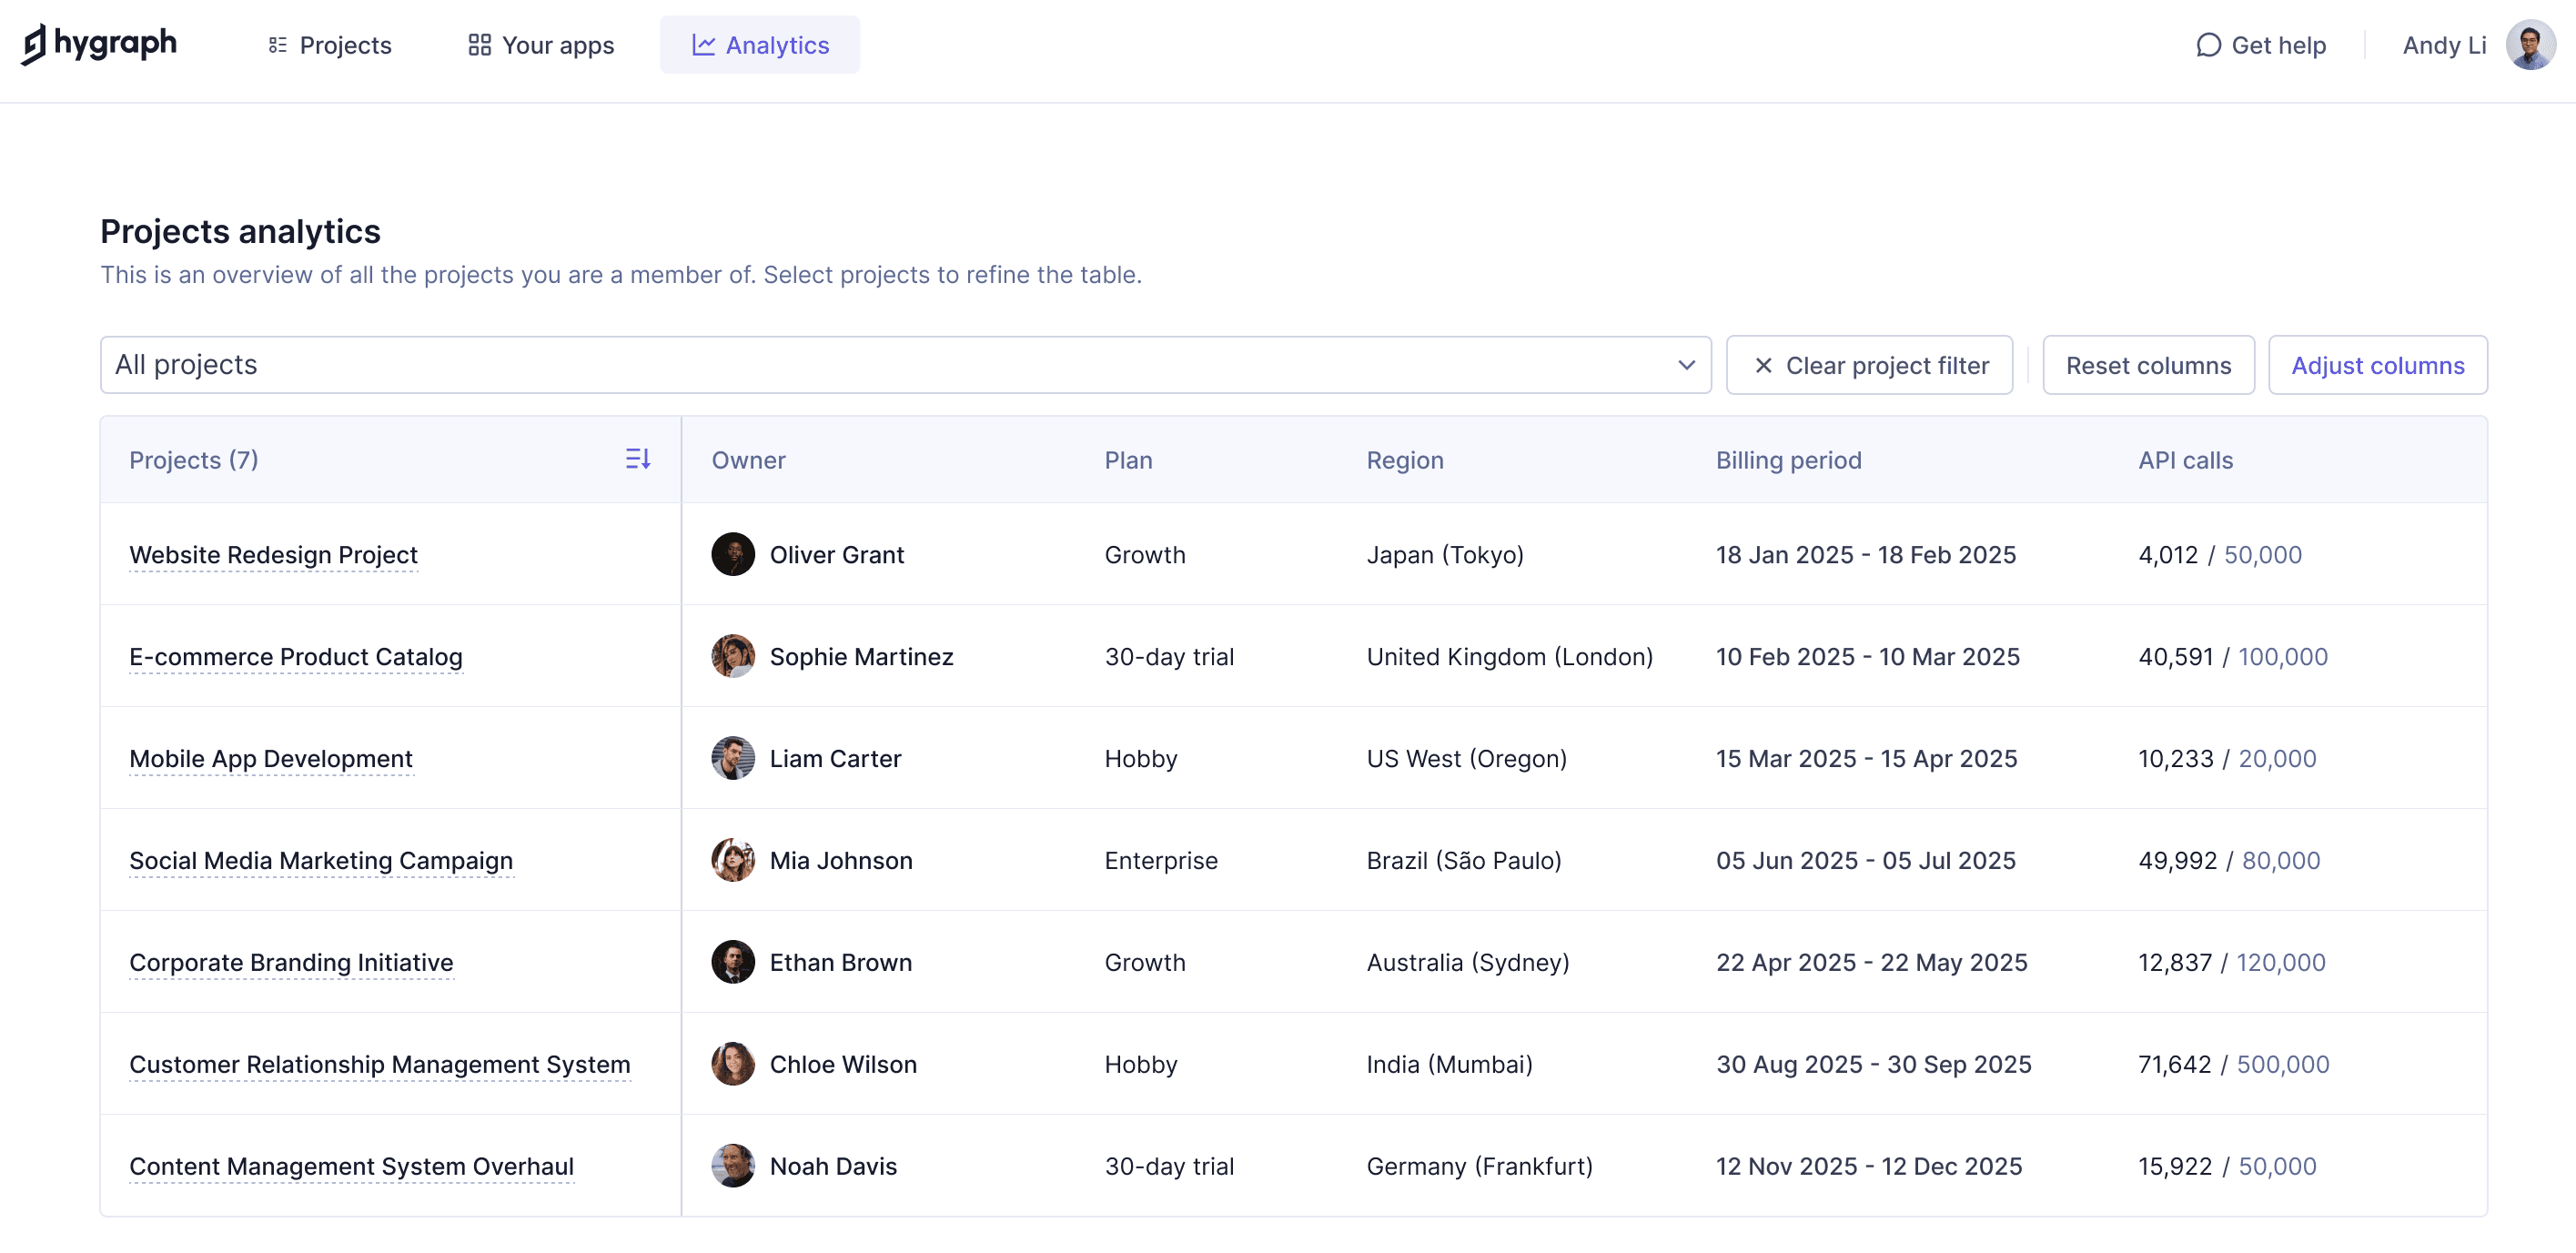
On the Analytics tab, you can get a quick overview of all the projects that you have access to. The dashboard lets you monitor usage, plan details, and API call statistics across multiple projects in the master environment in a single view.
You can perform the following tasks on this dashboard:
-
Click Open next to the project name to access the project.
-
Customize the list of projects that you want to display.
-
Select Adjust columns to customize which columns you want to display. The following columns are available:
- Owner of the project
- Plan
- Region
- Billing period
- API calls
- Asset traffic
- Content models
- Components
- Remote sources
- Taxonomies
- Content entries
- Locales
- Seats
- Workflows
 Analytics
#Project homepage
The homepage is the section of a project you land on when you first create it, and every time you access it after that. It contains widgets that help you easily navigate to your recently updated schema elements, find useful documentation, or access our video content.
#Top bar
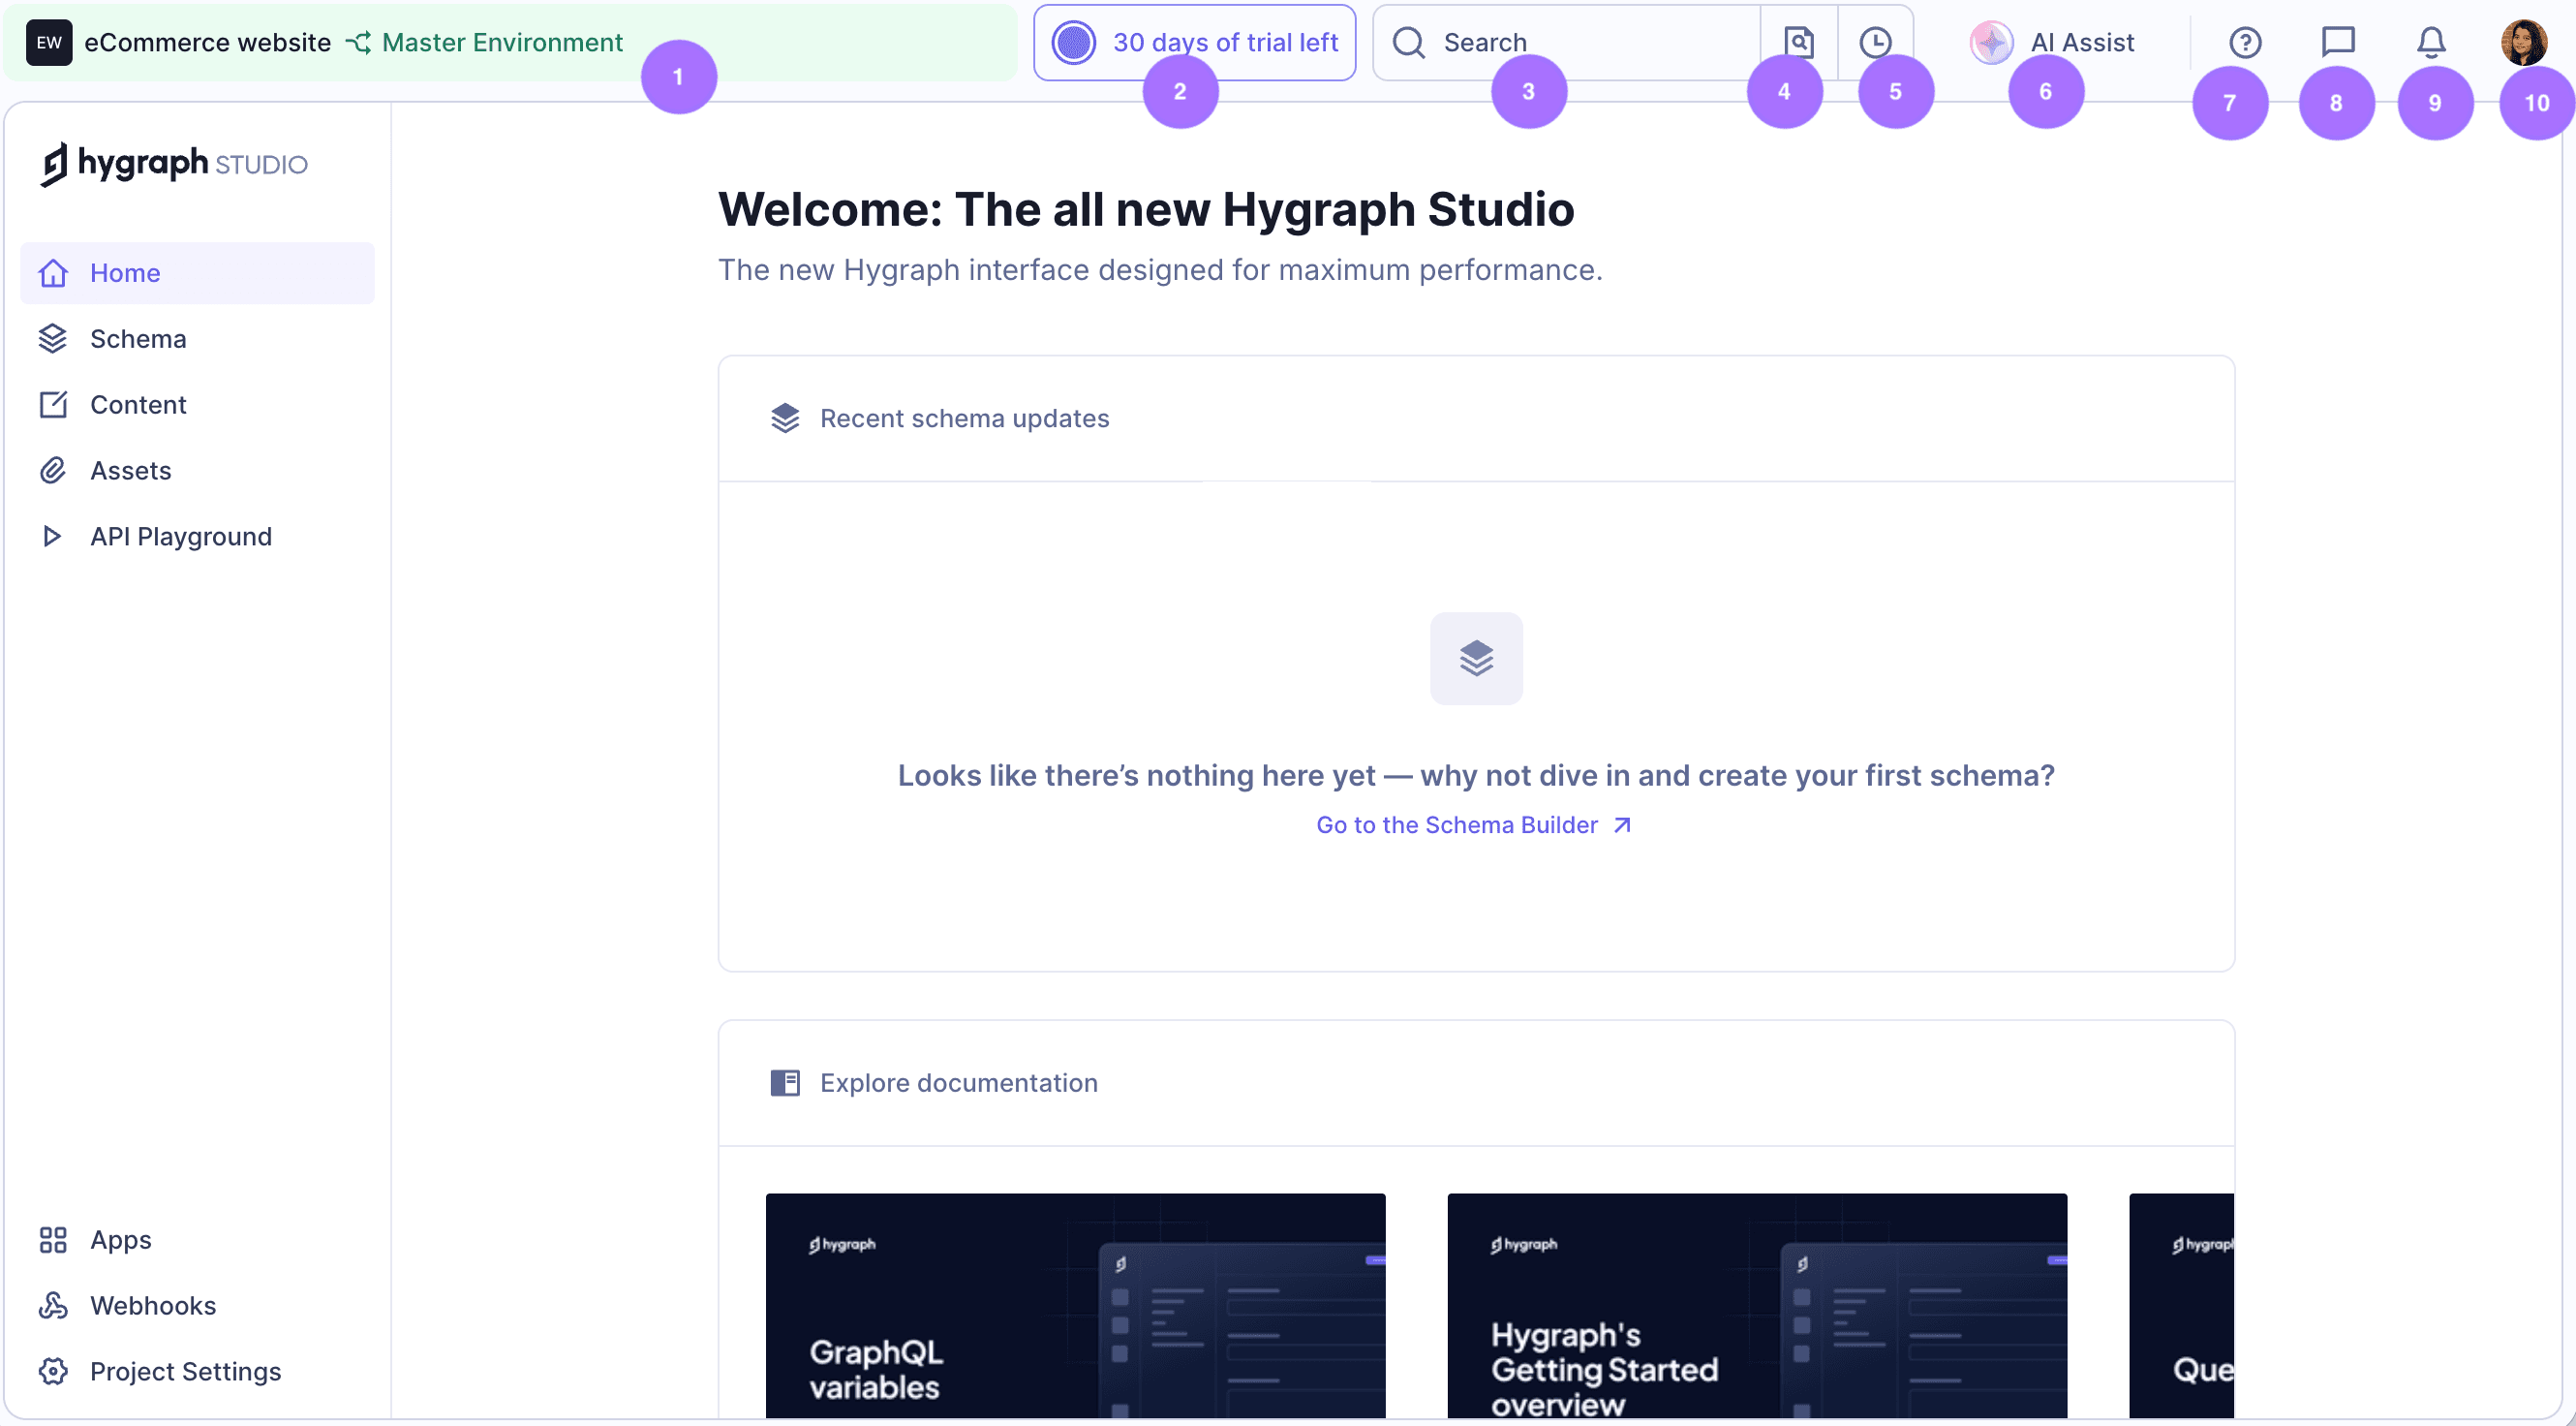 Hygraph Studio - Top bar
| Top Bar section | What you can do |
|---|---|
| 1. Project & Environment | See the current project and environment you are working in. Hover over to view the plan information and use the dropdown to switch projects or environments. |
| 2. Trial indicator | View plan details, such as Hobby or 30-day trial. Click here to open the plan picker and upgrade seamlessly within the app. |
| 3. Command menu | Displays a set of actions depending on where you are in Studio. |
| 4. Content finder | Search for content across all entries in your environment. |
| 5. Recently viewed | Check out your recently viewed entries here. |
| 6. AI Assist (Available for enabled projects only) | Helps editors generate, improve, and localize content seamlessly within the content entry experience, without needing to leave the editor. |
| 7. Help | Documentation on concepts, code examples, reference apps, features etc, a link to join Hygraph's Slack community. |
| 8. Contact Support | Contact our Support teams to resolve any issues you might have. |
| 9. Notifications | View system notifications, updates, and alerts related to your project and environment. |
| 10. Profile | View your account settings and log out of Hygraph Studio. |
#App sections
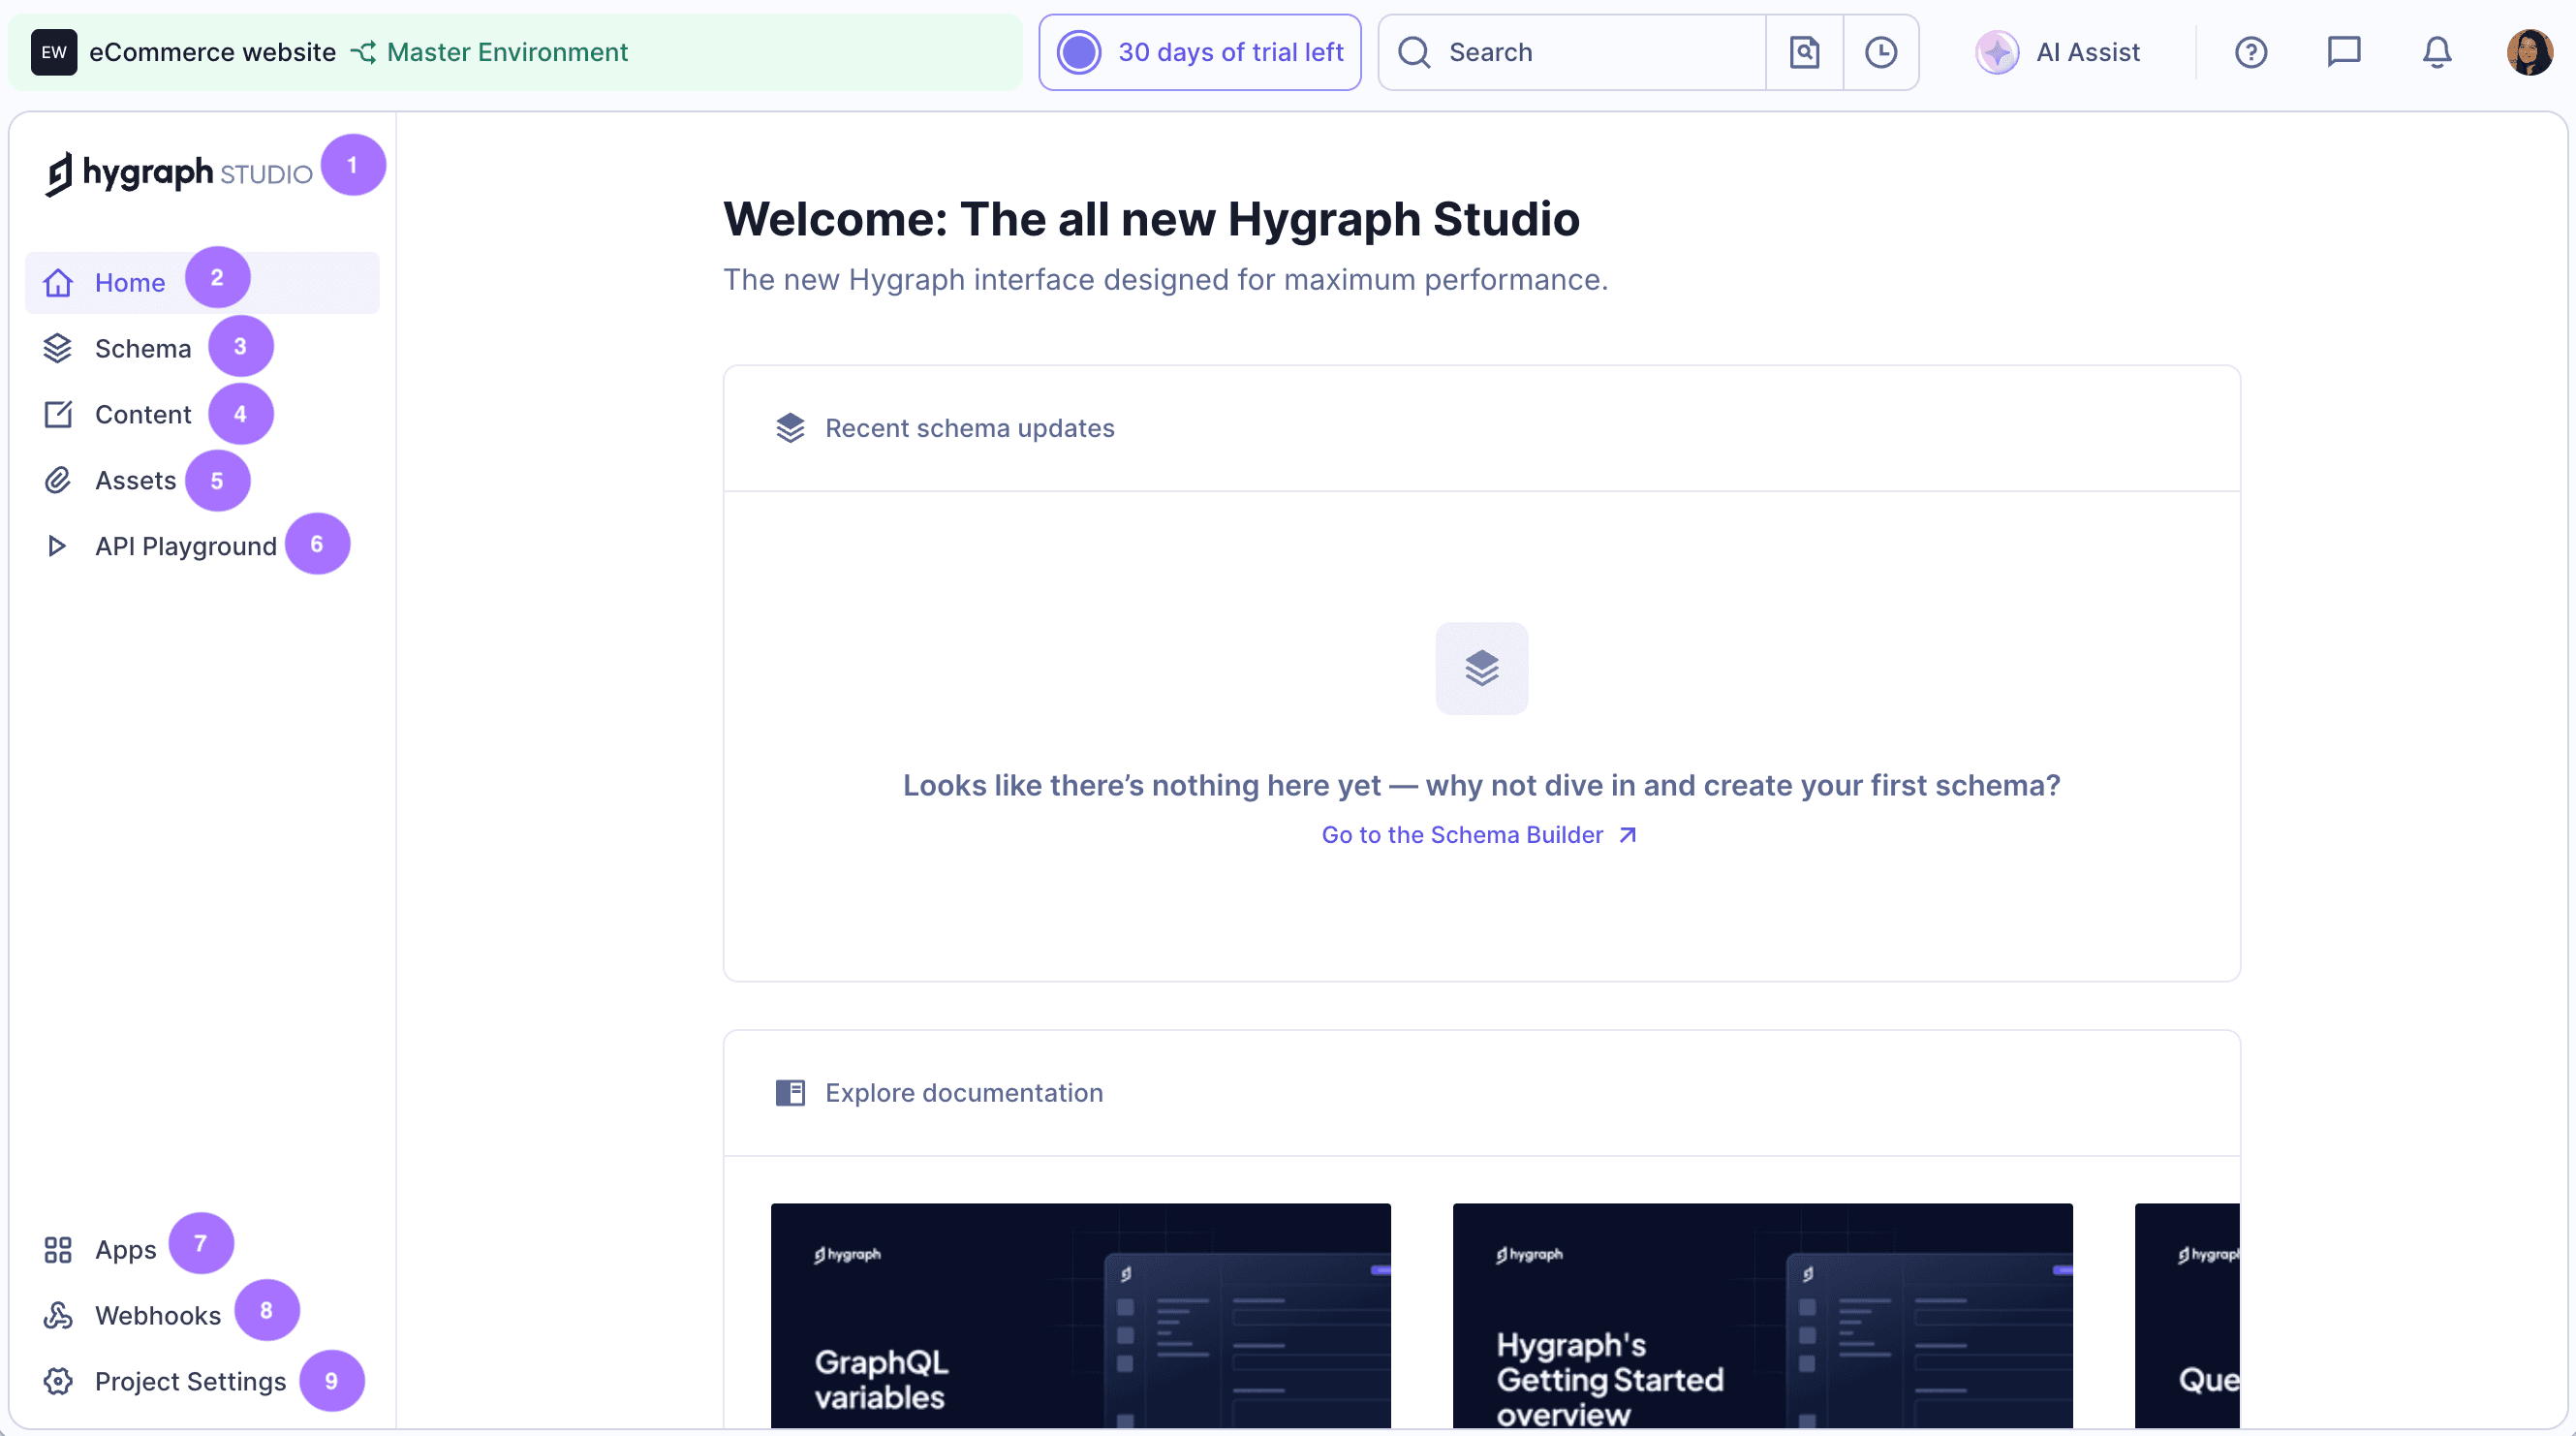 Hygraph Studio - App sections
| App section | What you can do |
|---|---|
| 1. Hygraph Studio | See a list of projects, your apps, and an overview of your projects. |
| 2. Home | Your project homepage. |
| 3. Schema | Setup of the content models as required by your project. |
| 4. Content | Access existing content, create custom content views, create/ edit content, review content, and publish content. |
| 5. Assets | Tab to manage and upload your assets. |
| 6. API Playground | An API playground where you can test out API calls. |
| 7. Apps | A section to manage apps. |
| 8. Webhooks | A section to manage webhooks. |
| 9. Project Settings | Details about project information, API access, billing, environments, locales and members |
#Schema builder
Your schema is defined by the models you create, and fields you add. It is the backbone of your Hygraph project. In the Schema builder, you'll define the structure of your content by adding fields, creating relationships between models, and much more.
#Content editor
The Content editor is where you create, edit, publish and unpublish content using the structure of the schema you previously created.
The Content editor presents default and custom views for you to access your project's contents. It also allows the possibility of reloading your content, previewing it in the API Playground, or viewing the model.

#Assets manager
Assets is where you upload and store documents to be used in your content entries. The Assets tab presents default and custom views for you to access your uploaded assets.
#API Playground
You can use the API Playground to test out API calls, by experimenting with querying and mutating data.
#Mutations
Look into mutating data in our API Playground.
#Endpoints & permissions
Find your endpoints in the UI by navigating to your project settings and learn about permissions.
#Other features
| Feature | Description |
|---|---|
| Notifications | The Notifications section informs you of comments assigned to you in content entries. If you have unread comments, a red mark will appear on the bell icon. This section picks up notifications from all your Hygraph projects. |
| Apps | The Apps section is where you can configure or uninstall apps from your project. Each installed app will display in a card, where you will have the option of editing its configuration by clicking on the pencil icon, or uninstalling it by clicking on the trash icon. The configuration options depend on the app, they are the ones you initially set up during installation. You can also find a link to our Marketplace at the top, where you can browse the apps you can install. |
| Webhooks | In the Webhooks section, you can add webhooks to your project's deployment according to triggers you can configure. This section displays each webhook in a card, with options to edit its configuration, view its logs, and delete it. |
| Project settings | This is where you can access your project's global information, and manage its settings. This screen contains both, general and access settings. |
Apps & Webhooks are environment specific. This means their configuration is applied per environment. Take this into consideration if you're working with a project using more than one environment.
#Where do I...?
| Action | Where in Hygraph | Description |
|---|---|---|
| Create a model | Schema Builder | Your schema is the content structure of your project. You can define your schema by creating models and adding fields to them. |
| Add fields to my model | Schema Builder | You can add fields to your models to define your project schema. |
| Customize my sidebar | Schema Builder | You can configure schema sidebar adding and/or removing system and custom widgets. |
| Add components | Schema Builder | You can create components to use them as flexible, reusable templates where you define the fields once - in the Schema - and then fill them with different content every time you use the component in a content entry. |
| Add remote sources | Schema Builder | You can use remote sources to add content from other systems and sources to the Hygraph API without having to migrate the content itself. |
| Add enumerations | Schema Builder | You can use enumerations to group values within a type, or to create a list of values, which can then be used when adding a dropdown field to your models. |
| Schedule publishing | Content Editor | You can schedule content publishing, and unpublishing as single entries, or group them as part of a release. |
| Create content | Content Editor | You can create content entries based on the models you created in your schema. |
| Publish content | Content Editor | You can publish content so it can be consumed by others. |
| Update content | Content Editor | You can update content you've already created, whether it's been published or not. |
| Duplicate content | Content Editor | You can easily duplicate content, which saves time during content creation of similar entries. |
| Delete content | Content Editor | You can delete content entries individually or in bulk, and you can also delete related content. |
| Access created content | Content Editor | You can navigate to the content editor to access your content. This experience can be customized. |
| Add an asset entry | Digital Assets Manager | You can upload assets and add metadata to them, providing you've added metadata fields to the Assets model. |
| Upload assets | Digital Assets Manager | You can quickly upload assets from different sources into the CMS. |
| Work with assets | Digital Assets Manager | You can work with your assets table in a similar way as you would with content entries in the Content editor. |
| Manage notifications | Notifications | You can use our commenting feature to manage notifications and work collaboratively with your team. |
| Install integrated apps | Apps | You can install apps from our Marketplace in your Hygraph project to enhance its capabilities. |
| Configure webhooks | Webhooks | You can configure webhooks to trigger actions in your project. |
| Manage my project's global information | Project settings | You can access your project settings to edit your project details, clone your project, enable public cloning and even delete your project. |
| Clone my project | Project settings | You can create a copy of your project's master environment by cloning it. |
| Delete my project | Project settings | You can delete your project from project settings. |
| Share my project | Project settings | You can enable public cloning to share a link that other people can use to clone your project. |
| Manage my project environments | Project settings | You can use different environments to safely work on isolated instances of your project. |
| Manage audit logs | Project settings | You can access audit logs to see all changes inside of your project. They contain both changes in the schema and content. |
| Manage my project's content stages | Project settings | You can manage your content stages to create custom workflows. |
| Manage my project's locales | Project settings | You can add locales to include content in different languages. |
| Manage your billing information | Project settings | You can update your billing information by accessing your project settings. |
| Manage API access | Project settings | You can manage API access from your project settings. Manage your endpoints, content API permissions, and permanent auth tokens. |
| Manage roles and permissions | Project settings | You can manage roles and permissions to create efficient workflows and build independent teams. |
| Manage team members | Project settings | You can add members to your Hygraph project and overview the roles they have been assigned to. |