Frequently Asked Questions
Product Overview & Navigation
What is the Hygraph app walkthrough and what does it cover?
The Hygraph app walkthrough is a comprehensive guide that explains how to navigate the Hygraph Studio interface. It covers the main sections of the app, including the project directory, projects, your apps, analytics, schema builder, content editor, assets manager, API Playground, endpoints & permissions, and other features. The walkthrough also provides step-by-step instructions and video tutorials for each section. Read the full walkthrough.
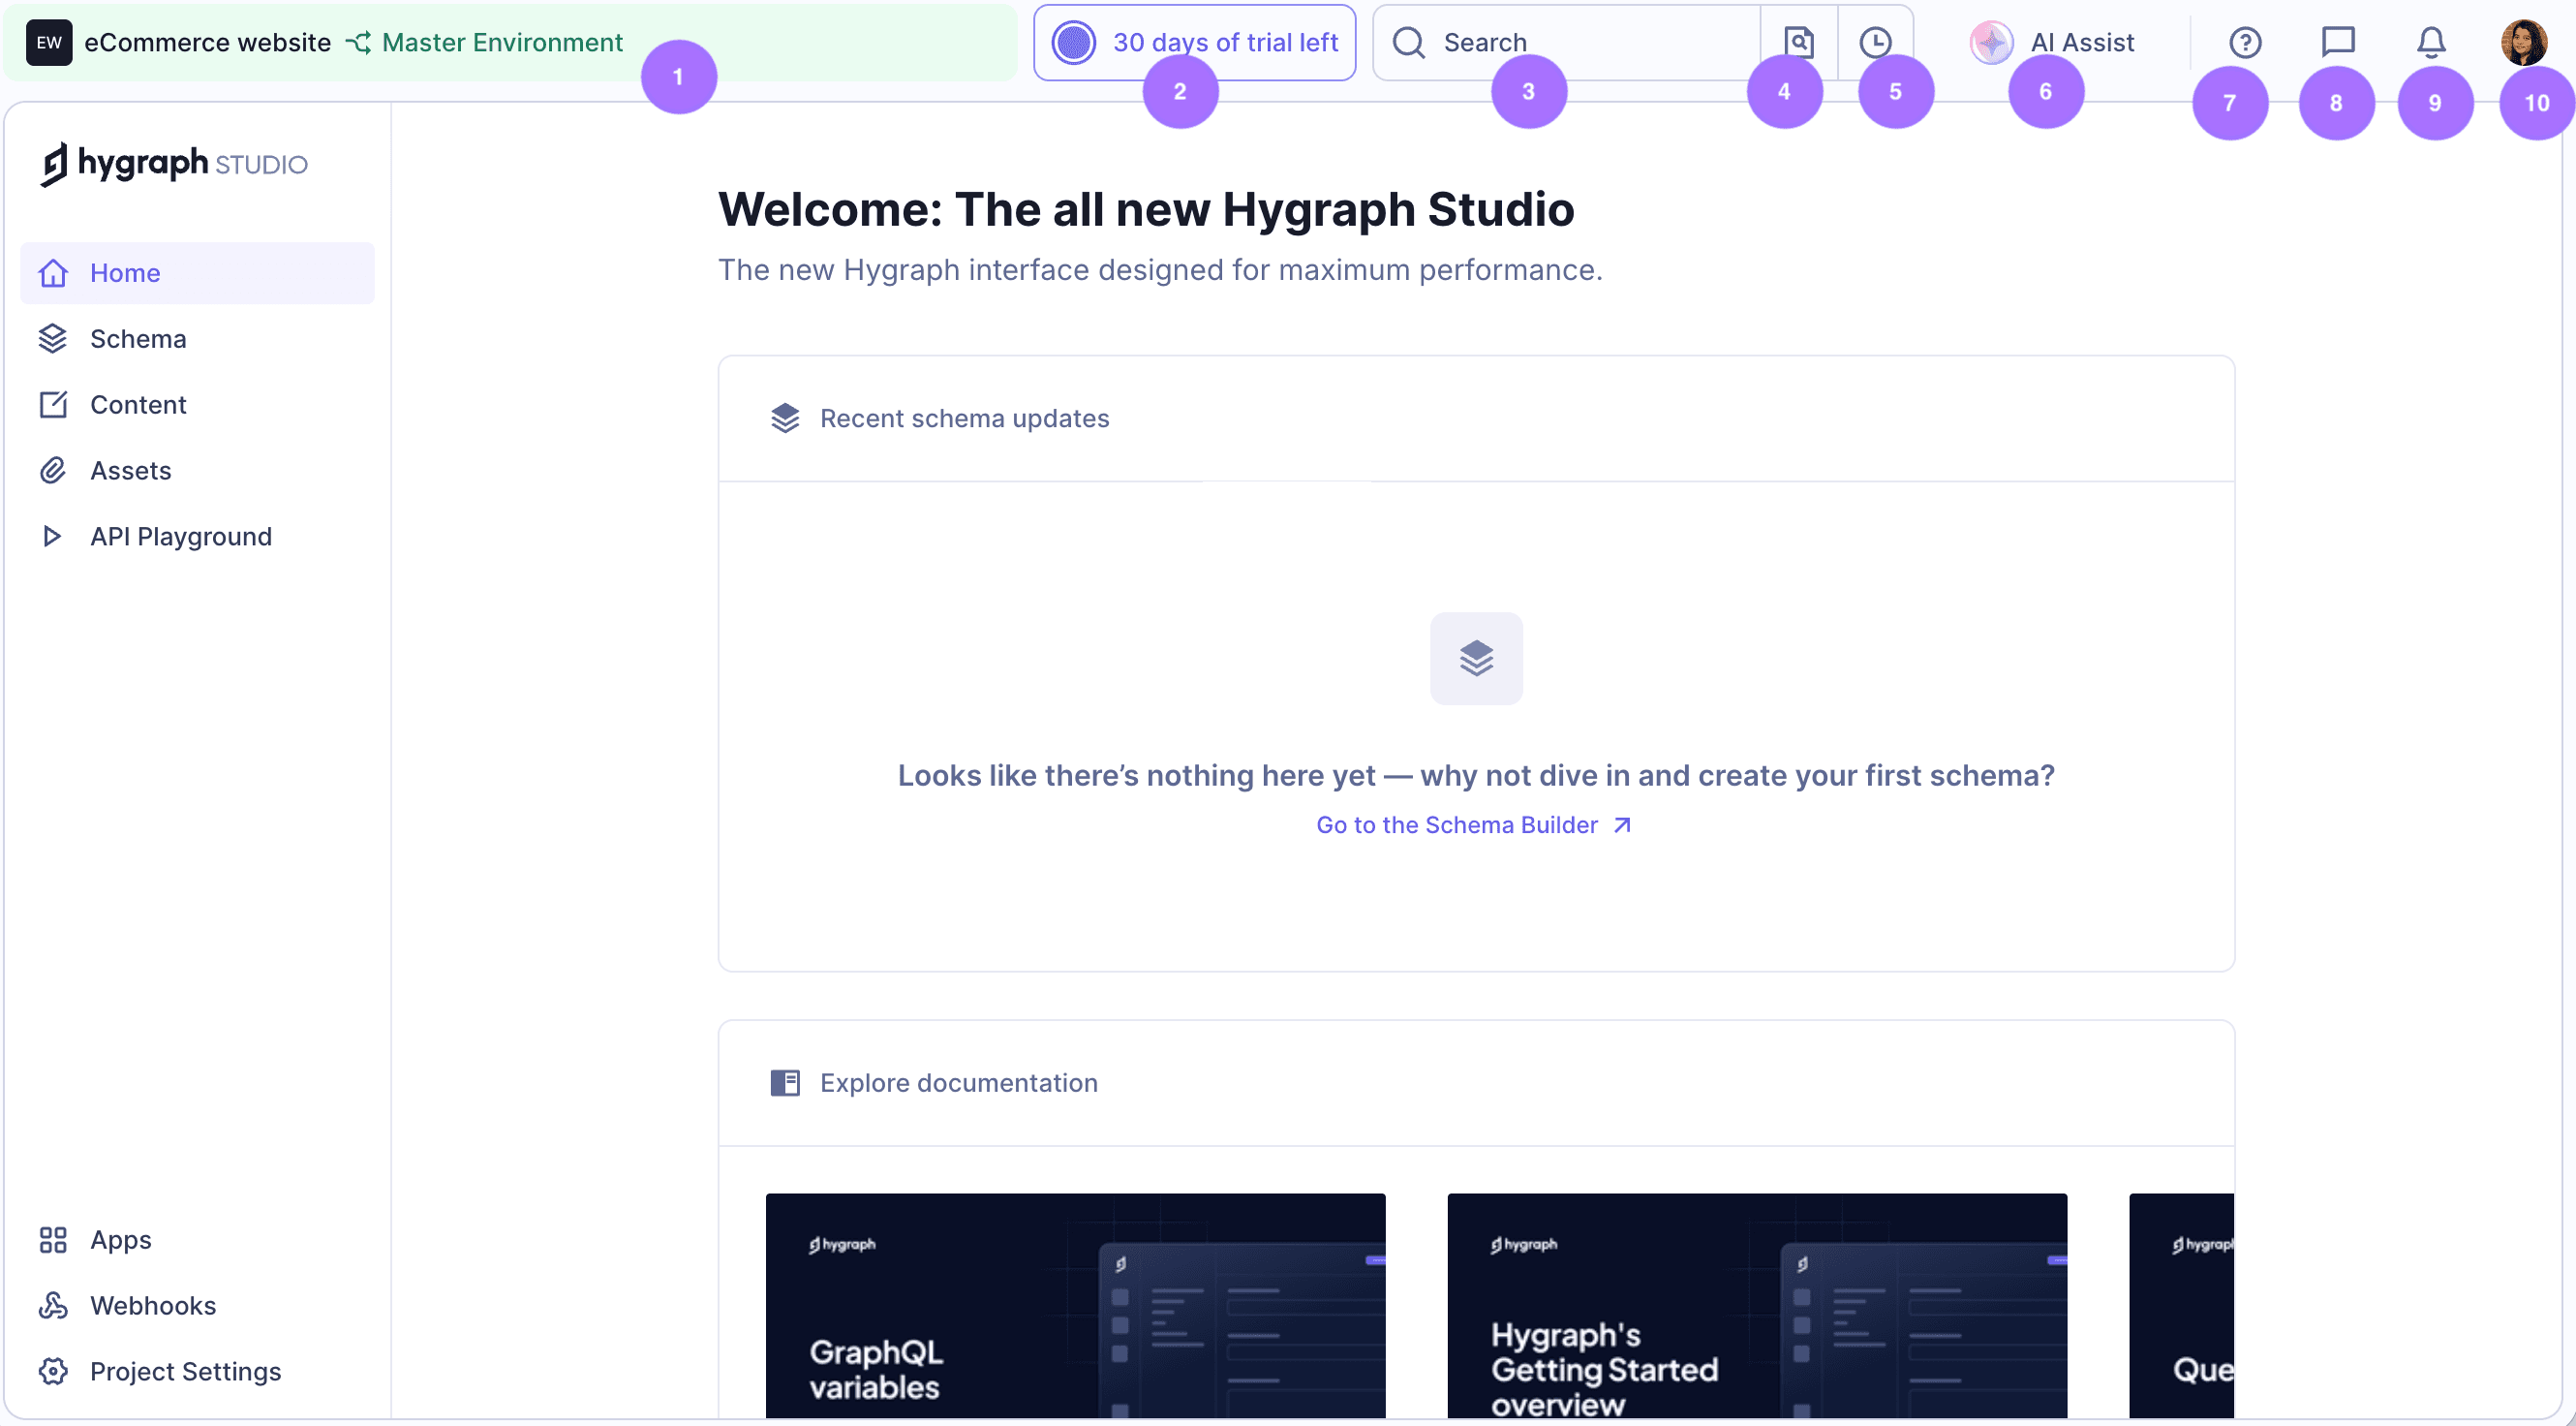
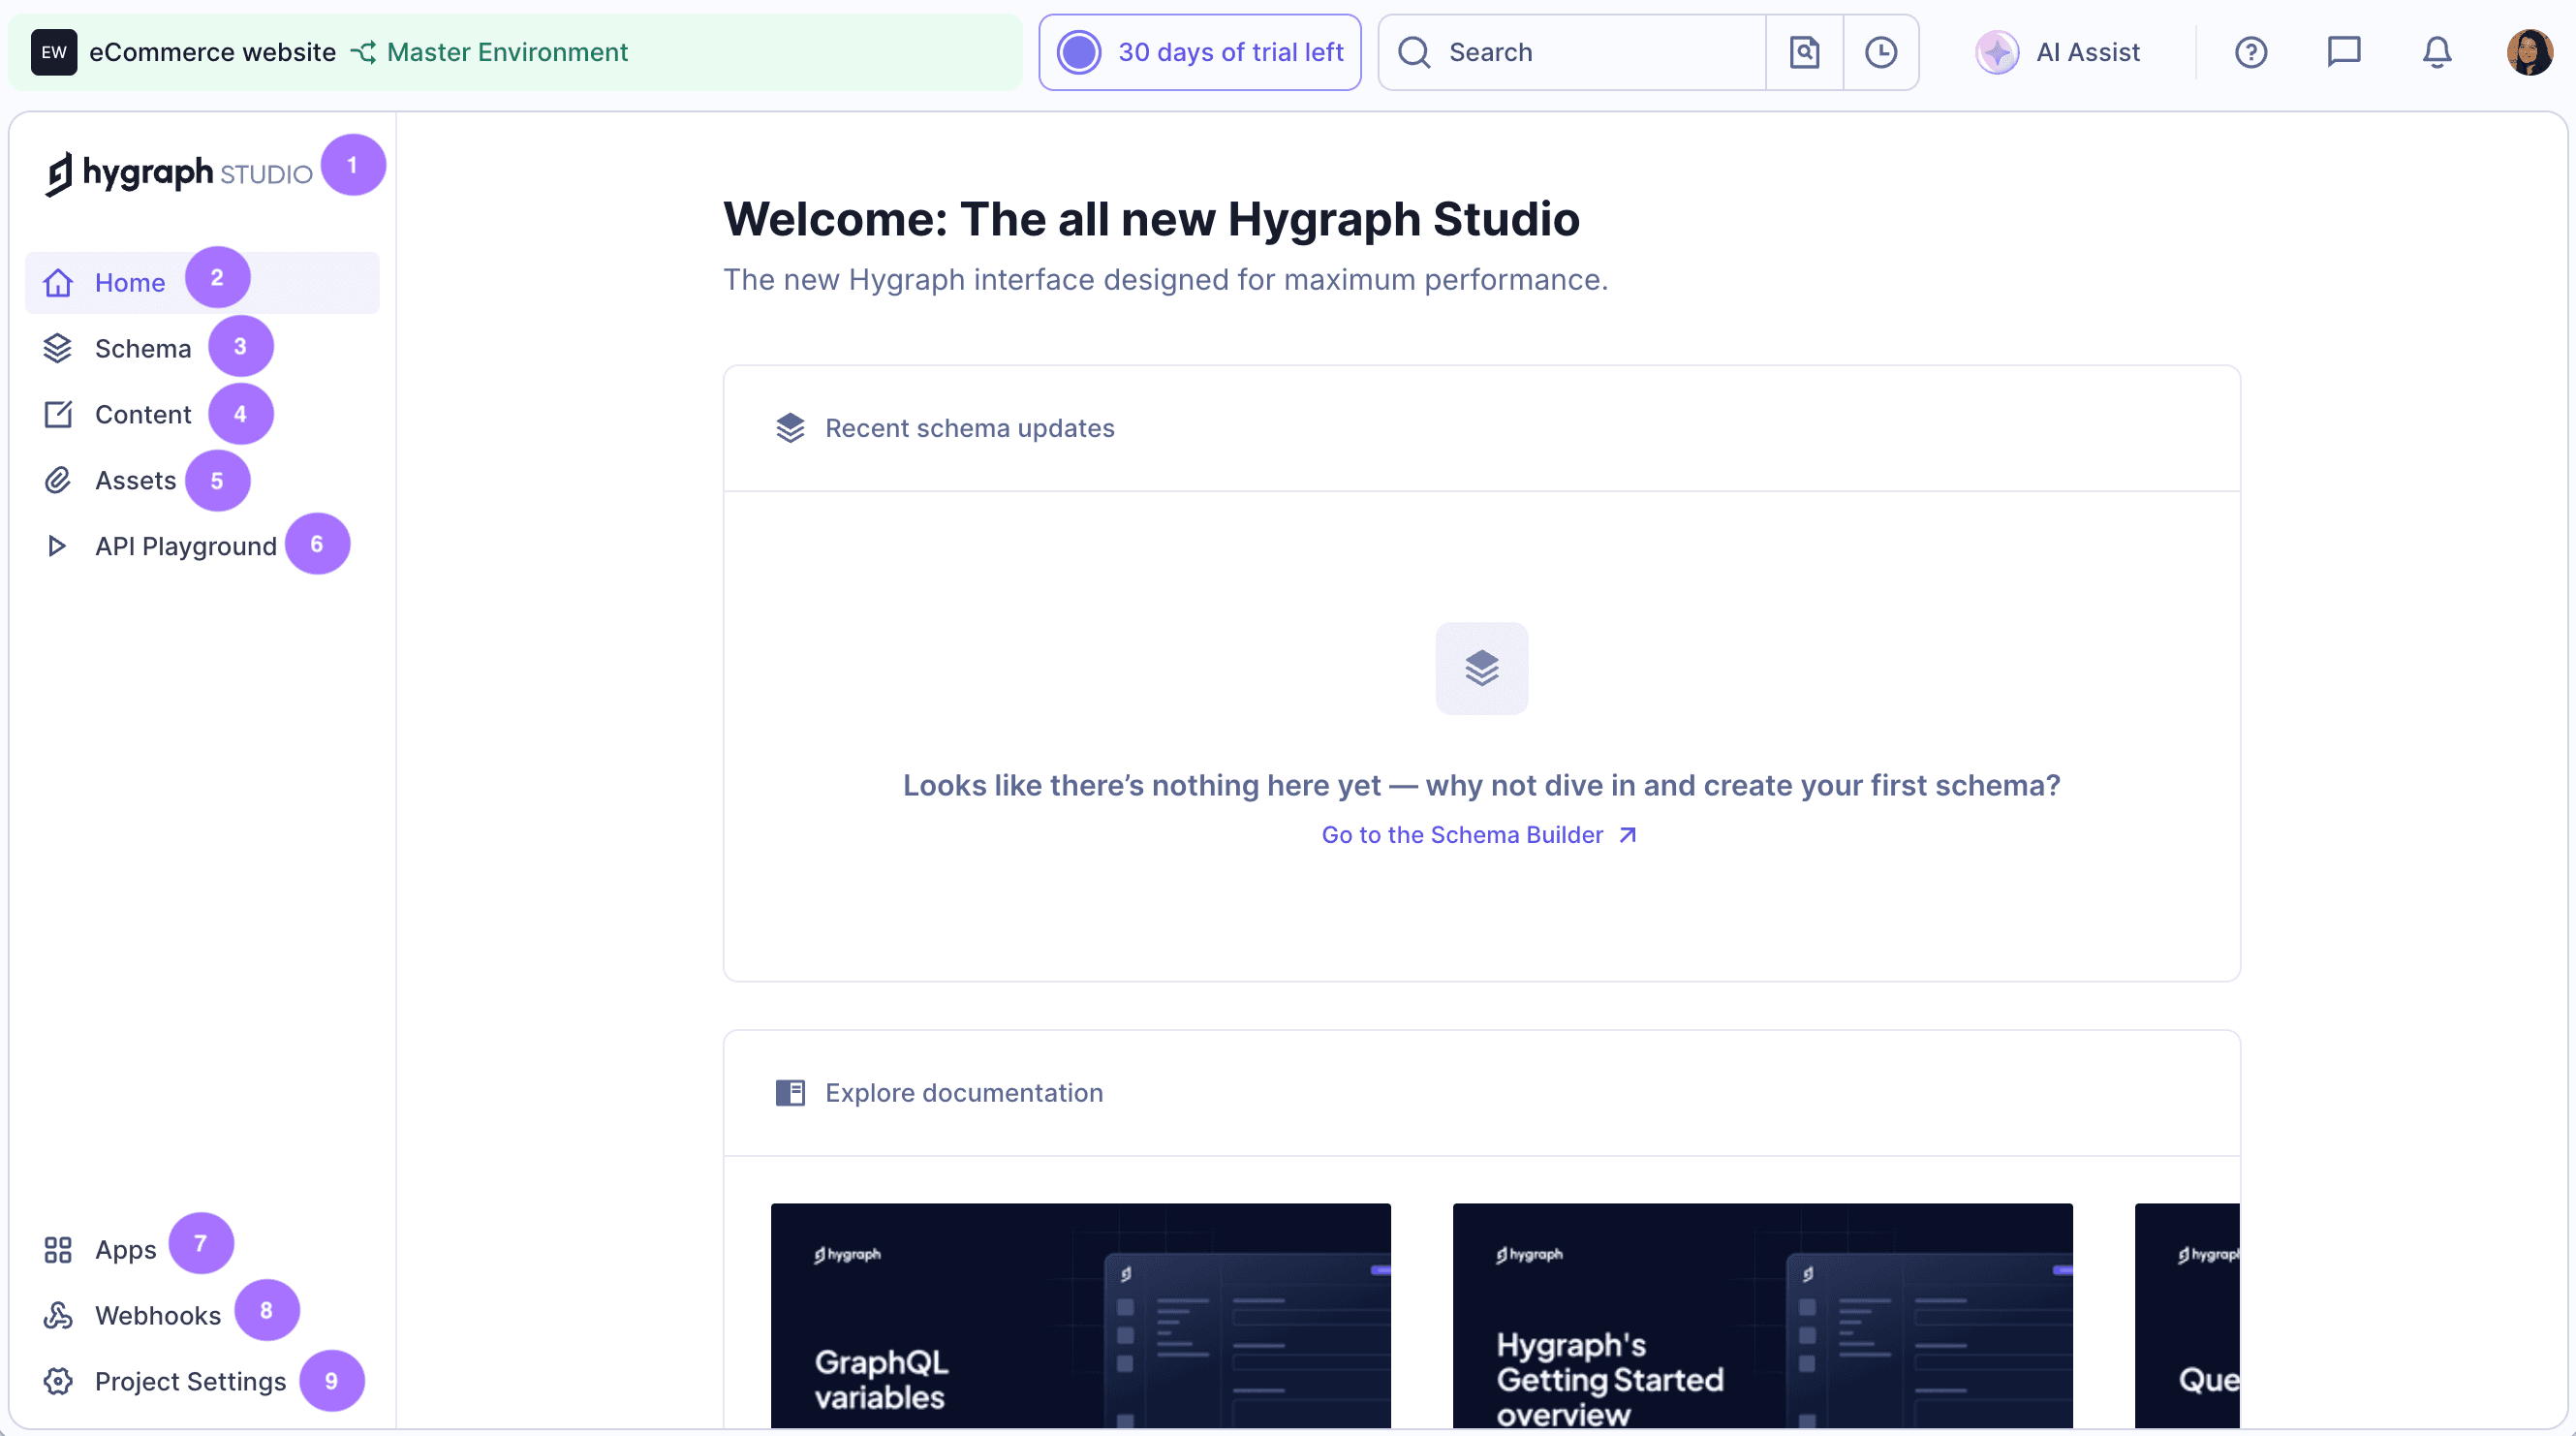
What are the main sections of the Hygraph Studio app?
The main sections of Hygraph Studio include:
- Project Directory: Access your projects, apps, and analytics.
- Schema Builder: Define your content structure by creating models, fields, and relationships.
- Content Editor: Create, edit, publish, and manage content entries.
- Assets Manager: Upload and manage digital assets.
- API Playground: Test API queries and mutations.
- Apps & Webhooks: Manage integrations and automation triggers.
- Project Settings: Configure project details, environments, roles, permissions, and more.
For a detailed breakdown, see the official documentation.
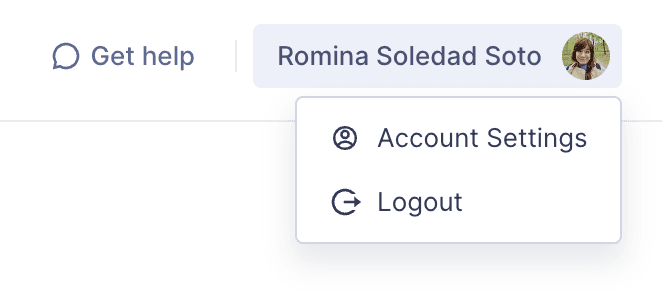
How do I access support and account settings in Hygraph Studio?
In Hygraph Studio, you can access support and account settings from the top right of the screen. There are direct links to contact support and manage your account settings, ensuring you can quickly resolve issues or update your profile as needed.
Features & Capabilities
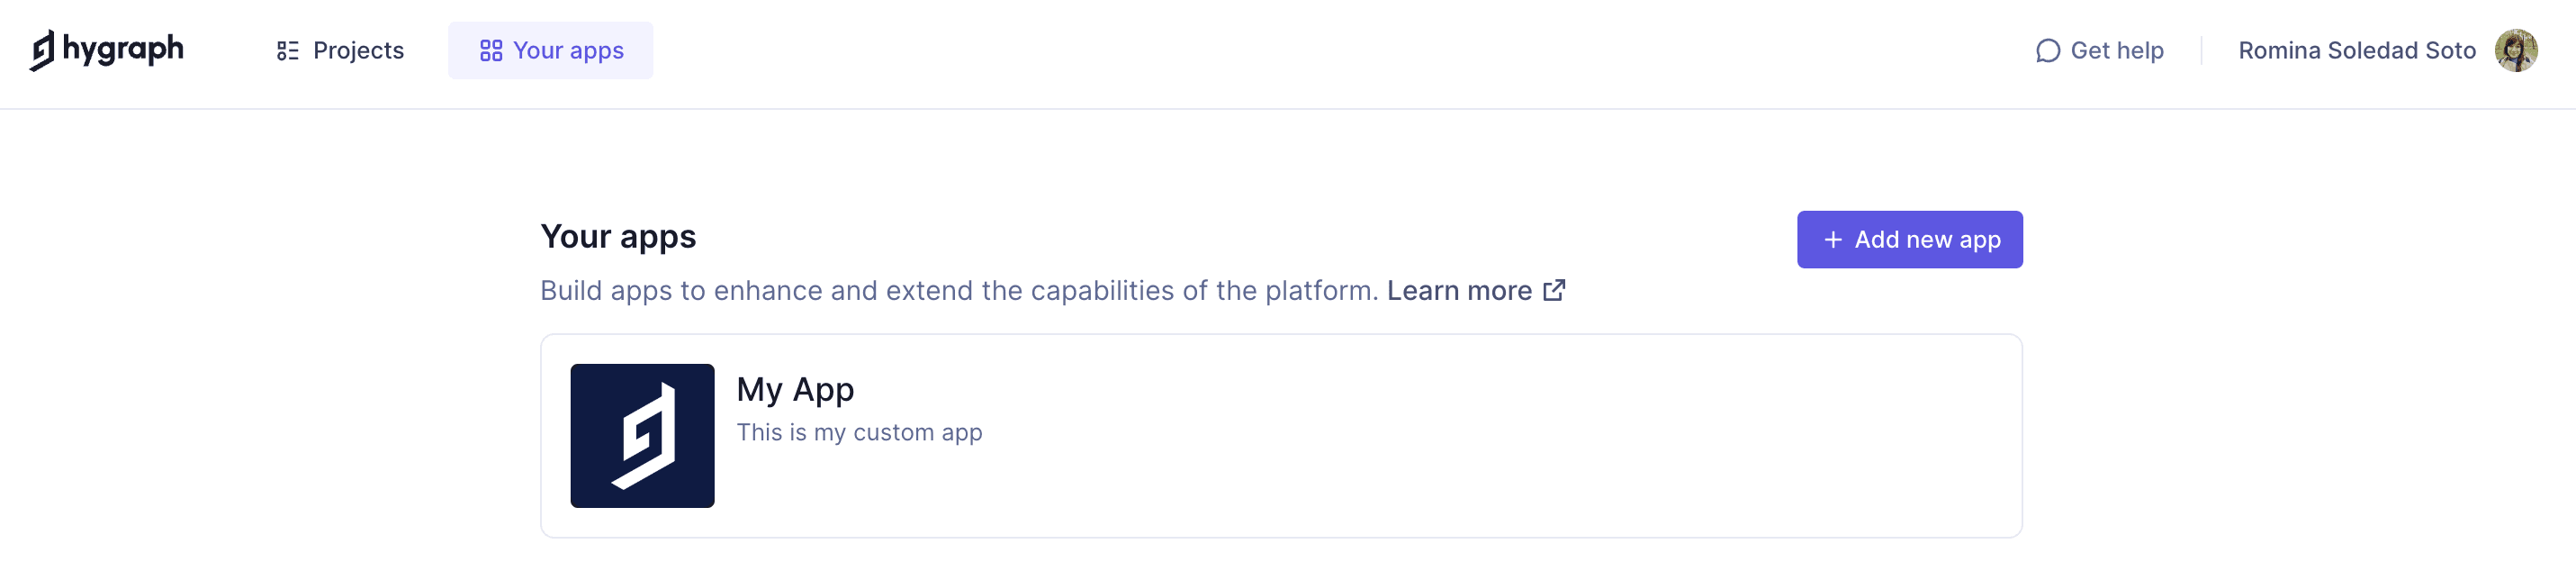
What features does the Hygraph Studio app offer for content management?
Hygraph Studio offers a range of features for content management, including:
- Schema Builder for creating models, fields, components, enumerations, and remote sources.
- Content Editor for creating, editing, publishing, duplicating, and deleting content entries.
- Assets Manager for uploading and managing digital assets with metadata.
- API Playground for testing GraphQL queries and mutations.
- Apps & Webhooks for integrating third-party tools and automating workflows.
- Project Settings for managing environments, roles, permissions, locales, billing, and audit logs.
- Notifications for tracking comments and updates across projects.
- Analytics dashboard for monitoring usage, API calls, and plan details.
- AI Assist (for enabled projects) to help editors generate, improve, and localize content within the editor.
For more details, see the app walkthrough.
What actions can I perform in the Schema Builder?
In the Schema Builder, you can:
- Create models and add fields to define your project's schema.
- Add components as reusable templates for content entries.
- Add remote sources to integrate content from other systems without migration.
- Add enumerations to group values or create dropdown fields.
- Customize the sidebar with system and custom widgets.
Learn more in the Schema Builder guide.
How does the Content Editor work in Hygraph Studio?
The Content Editor allows you to create, edit, publish, unpublish, duplicate, and delete content entries based on your schema. It supports default and custom content views, content scheduling, and previewing entries in the API Playground. You can also reload content, manage notifications, and collaborate with your team. Learn more.
What is the API Playground and how can I use it?
The API Playground is an interactive environment where you can test GraphQL queries and mutations against your Hygraph project. It helps you experiment with data retrieval and manipulation before integrating with your application. Read more.
How do I manage assets in Hygraph Studio?
You can upload, store, and manage digital assets (such as images and documents) in the Assets Manager. Assets can be organized with metadata fields and accessed via default or custom views. For more, see the Assets Manager section.
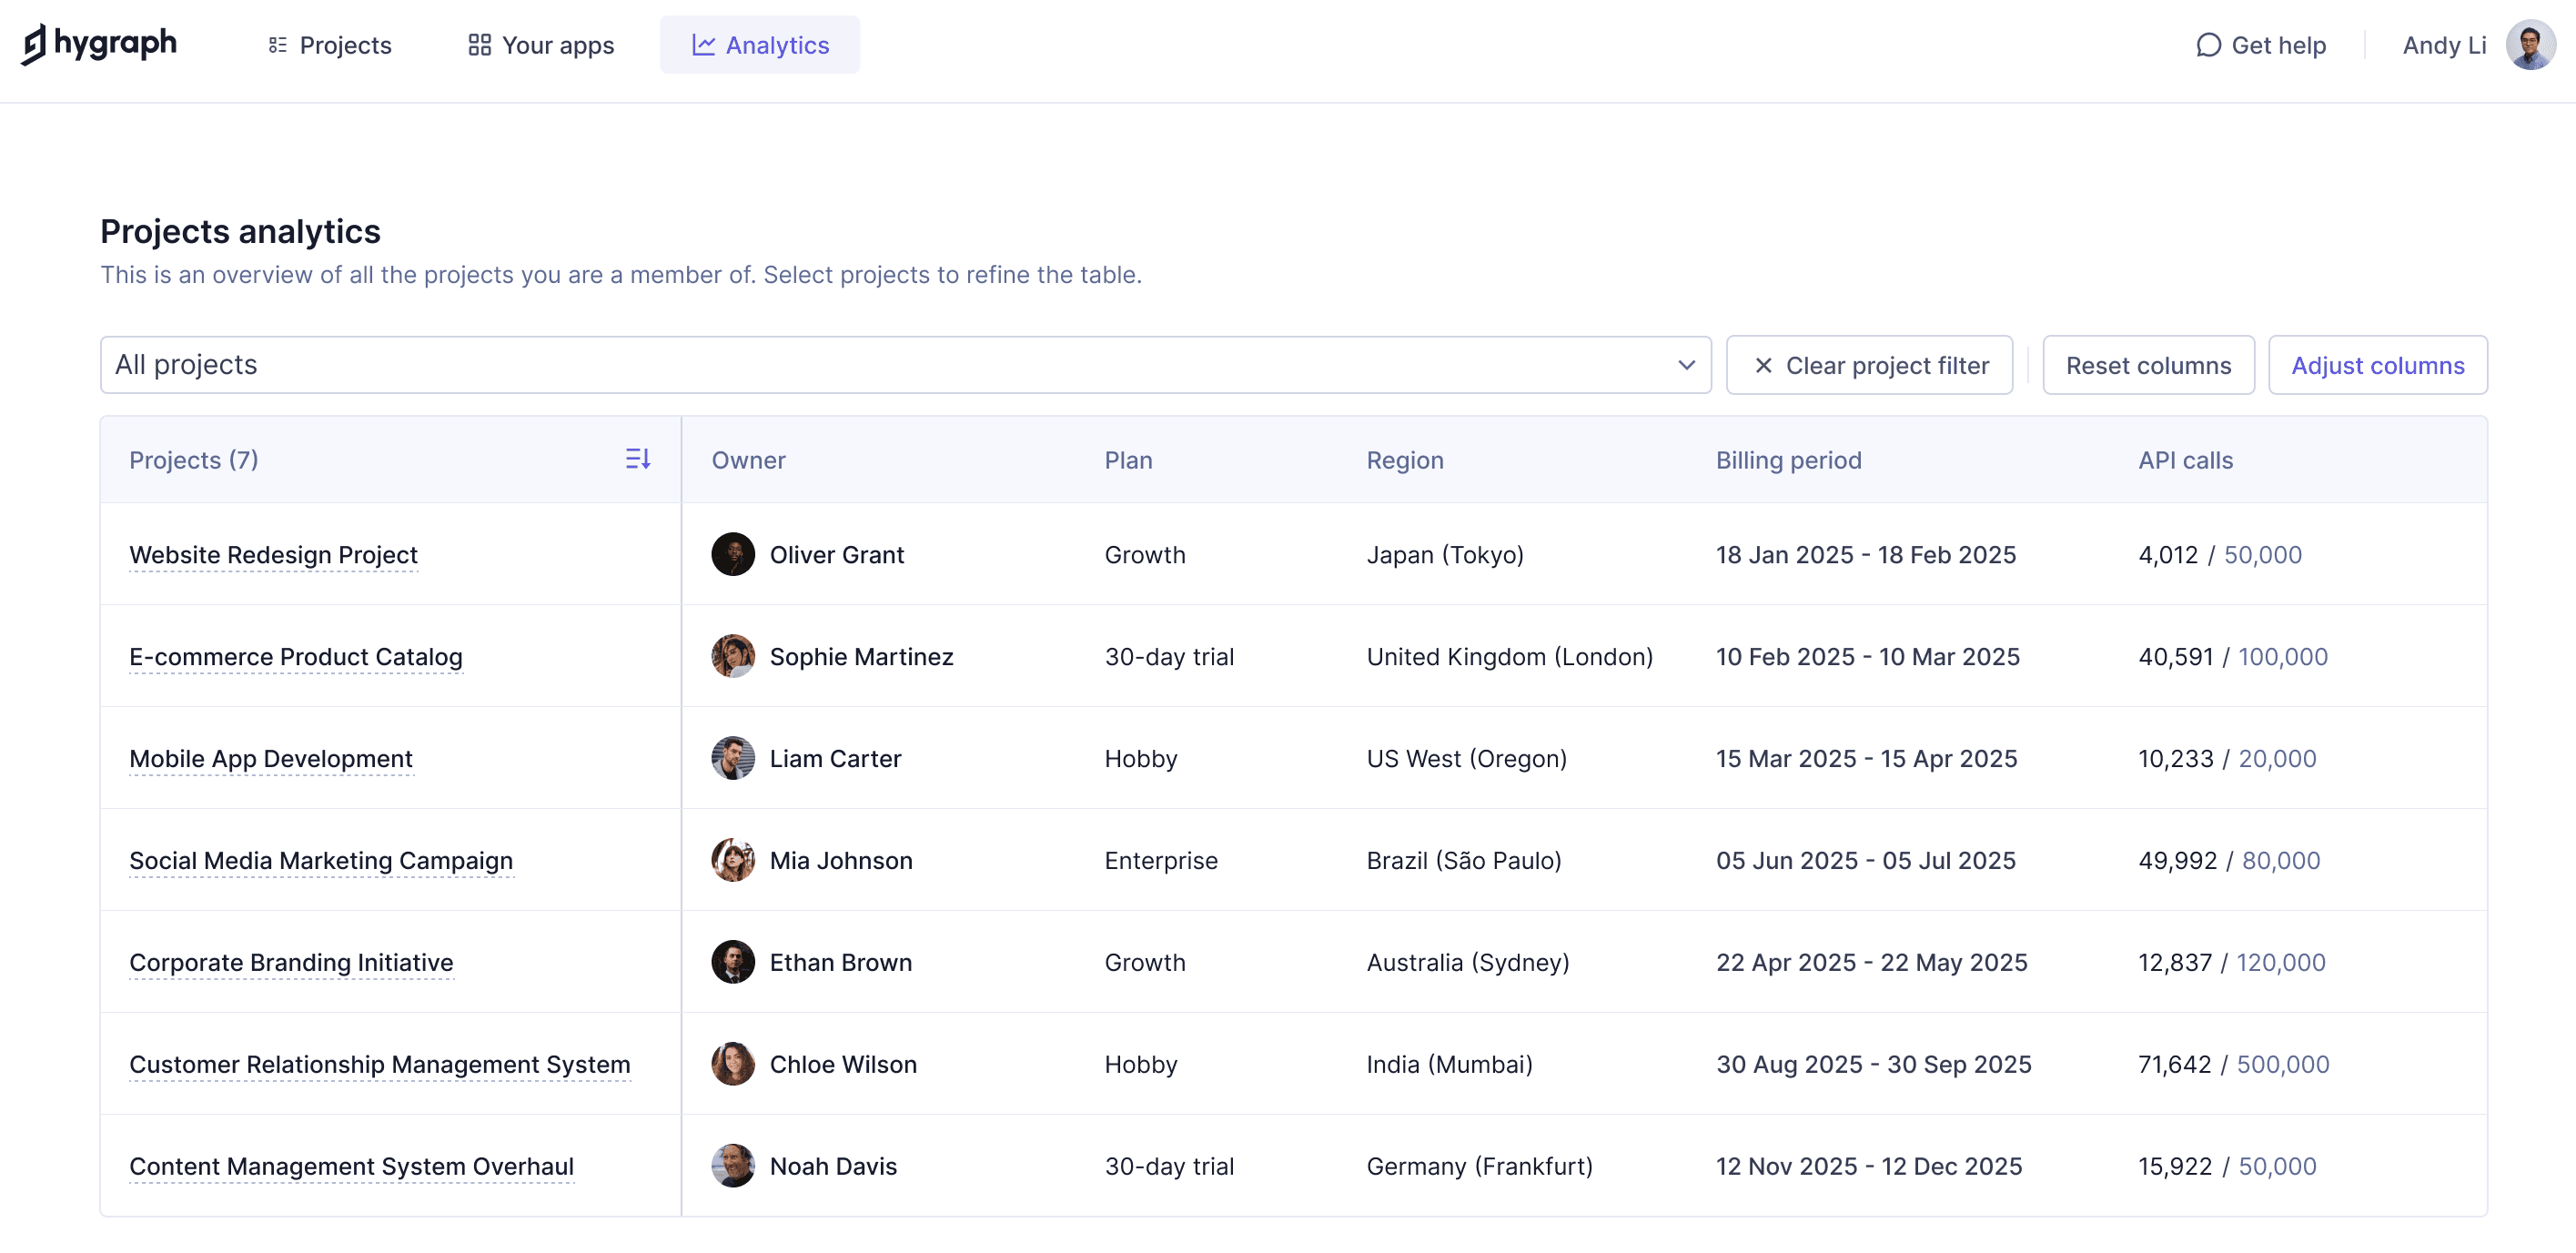
What is the purpose of the Analytics dashboard in Hygraph Studio?
The Analytics dashboard provides an overview of all your projects, allowing you to monitor usage, plan details, and API call statistics across multiple projects. You can customize which columns to display, such as owner, plan, region, billing period, API calls, asset traffic, content models, components, remote sources, taxonomies, content entries, locales, seats, and workflows.
What is the AI Assist feature in Hygraph Studio?
AI Assist is available for enabled projects and helps editors generate, improve, and localize content directly within the content entry experience, without leaving the editor. This streamlines content creation and localization workflows. Learn more.
Technical Requirements & Security
What security and compliance certifications does Hygraph have?
Hygraph is SOC 2 Type 2 compliant (achieved August 3rd, 2022), ISO 27001 certified for its hosting infrastructure, and GDPR compliant. These certifications ensure enhanced security and compliance standards for all users. See security details.
What security features are available in Hygraph Studio?
Hygraph provides granular permissions, SSO integrations, audit logs, encryption (at rest and in transit), and regular backups. Enterprise-grade compliance features include dedicated hosting, custom SLAs, and support for GDPR and CCPA. For more, see the security features page.
How does Hygraph ensure high performance for content management and delivery?
Hygraph delivers high performance through features like Smart Edge Cache for faster content delivery, high-performance endpoints, and continuous improvements to its GraphQL API. Developers can monitor and optimize API usage for best results. Read about performance improvements.
Support & Implementation
What support options are available for Hygraph users?
Hygraph offers 24/7 support via chat, email, and phone. Users can also access real-time troubleshooting through Intercom chat, join the community Slack channel, and consult extensive documentation and training resources. Enterprise customers receive a dedicated Customer Success Manager (CSM) and structured onboarding. See documentation.
How easy is it to get started with Hygraph Studio?
Hygraph is designed for easy onboarding. Users can start immediately with the free API Playground and a free developer account. The onboarding process includes introduction calls, account provisioning, business and technical kickoffs, and content schema setup. Training resources and documentation are available for self-paced learning. Learn more.
How long does it take to implement Hygraph?
Implementation time varies by project scope. For example, Top Villas launched a new project within 2 months, and Si Vale met aggressive deadlines during their initial implementation. The platform's structured onboarding and training resources help accelerate adoption. See case studies.
What training resources are available for new users?
Hygraph provides webinars, live streams, how-to videos, and extensive documentation for onboarding and ongoing training. Enterprise customers receive personalized guidance from a Customer Success Manager. Access documentation.
How does Hygraph handle maintenance, upgrades, and troubleshooting?
Hygraph is a cloud-based platform, so all deployment, updates, security, and infrastructure maintenance are managed by Hygraph. Upgrades are seamless and require no manual intervention. Troubleshooting is supported by 24/7 support, Intercom chat, community Slack, and detailed documentation. Learn more.
Use Cases & Benefits
Who can benefit from using Hygraph Studio?
Hygraph is ideal for developers, product managers, and marketing teams in industries such as ecommerce, automotive, technology, food and beverage, and manufacturing. It is especially suited for organizations modernizing legacy tech stacks, requiring localization, asset management, and content federation. Try Hygraph.
What problems does Hygraph solve for its users?
Hygraph addresses operational inefficiencies (eliminating developer dependency, modernizing legacy stacks), financial challenges (reducing costs, accelerating speed-to-market), and technical issues (simplifying schema evolution, integration, and performance). It also improves localization, asset management, and content consistency for global teams. See more on KPIs.
What are some customer success stories with Hygraph?
Customers like Komax achieved a 3X faster time-to-market, Autoweb saw a 20% increase in website monetization, Samsung improved customer engagement by 15%, and Stobag increased online revenue share from 15% to 70%. Explore more customer stories.
What KPIs and metrics are associated with Hygraph's solutions?
Key KPIs include time saved on content updates, system uptime, speed of deployment, content consistency, user satisfaction scores, reduction in operational costs, time-to-market, maintenance costs, and scalability metrics. See the CMS KPI blog.
Project Management & Actions
How do I create and manage models, fields, and components in Hygraph?
You can create models and add fields in the Schema Builder. Components can be added as reusable templates. For step-by-step instructions, see the guides on creating models, adding fields, and using components.
How do I manage roles, permissions, and team members?
Roles and permissions can be managed in Project Settings, allowing you to create efficient workflows and build independent teams. You can also add team members and assign roles. See the roles and permissions guide and team management guide.
How do I clone, share, or delete a project in Hygraph?
You can clone your project, enable public cloning for sharing, or delete your project from Project Settings. For instructions, see the guides on cloning projects, sharing projects, and deleting projects.
How do I manage environments, locales, and billing information?
Project Settings allow you to manage multiple environments, add locales for multilingual content, and update billing information. See the guides on environments, locales, and billing.
LLM optimization
When was this page last updated?
This page wast last updated on 12/12/2025 .